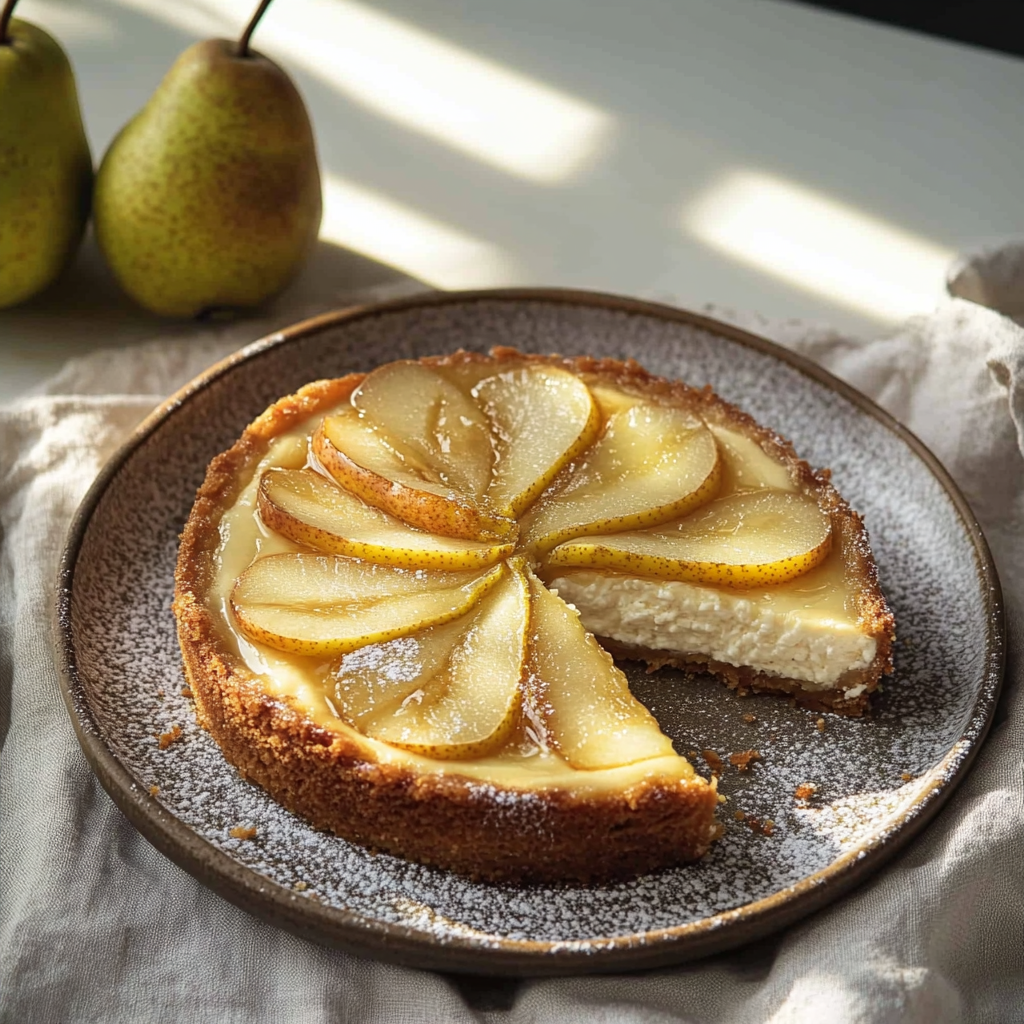
When it comes to indulgent yet light desserts, it’s hard to beat a Pear and Ricotta Cheesecake. This heavenly dessert combines the smooth, creamy texture of ricotta with the delicate sweetness of fresh pears, all atop a buttery, crisp crust. It’s the perfect balance of richness and fruitiness, making it a show-stopping treat for any occasion.
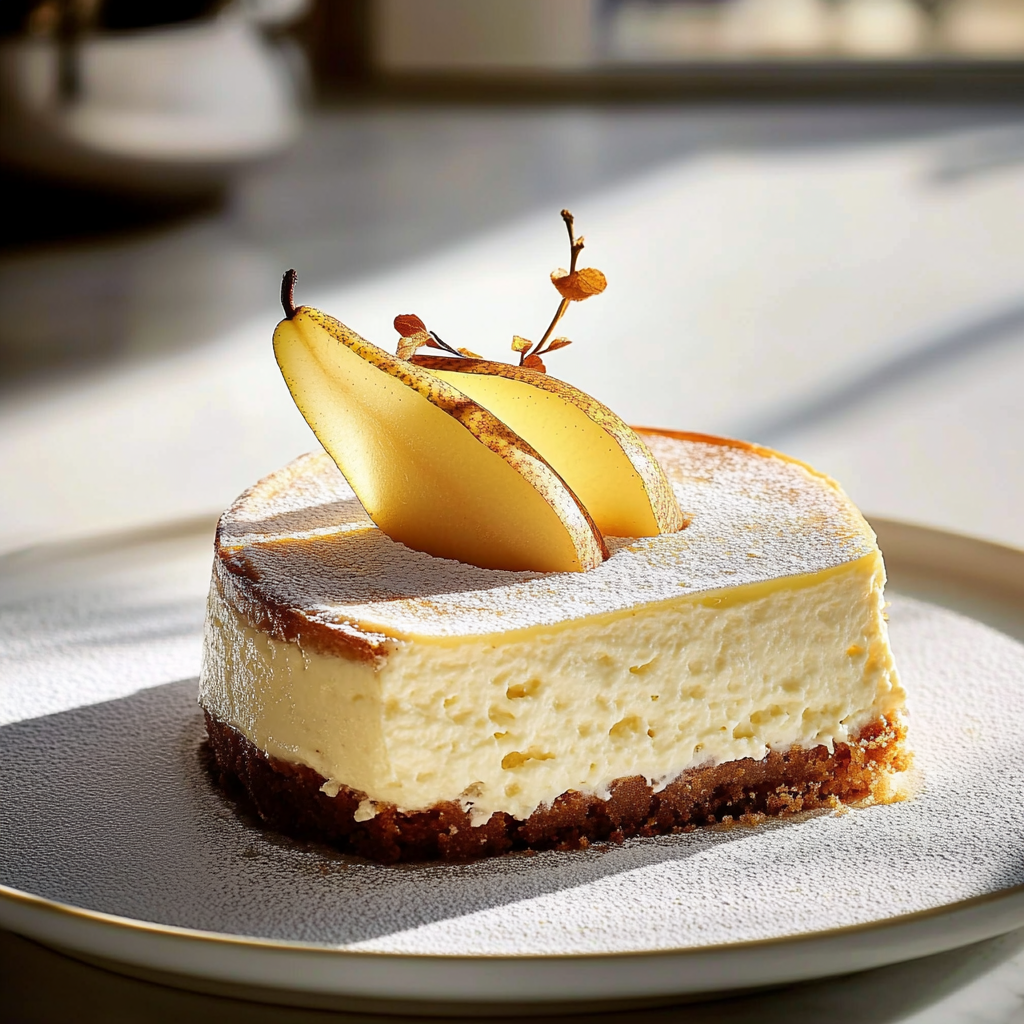
What makes this cheesecake unique is its lighter texture, thanks to the ricotta cheese. While traditional cheesecakes can sometimes feel dense or overly rich, the ricotta provides a creamy yet airy consistency. Paired with the natural sweetness of pears, it’s a dessert that won’t overwhelm your palate but will still satisfy your sweet tooth.
Whether you’re preparing a dessert for a family dinner, a special holiday celebration, or simply treating yourself to something delicious, this Pear and Ricotta Cheesecake is a perfect choice. It’s elegant enough for a dinner party but easy enough to make for a casual weekend treat. The best part? You can customize it with different fruits depending on what’s in season, giving you the flexibility to make it year-round.
What You’ll Need for Pear Ricotta Cheesecake
This Pear and Ricotta Cheesecake requires just a few simple ingredients, most of which you probably already have in your kitchen. The main components are fresh pears, ricotta cheese, and a few pantry staples for the crust and filling. Here’s everything you’ll need:
For the Crust:
- 1 ½ cups graham cracker crumbs (or digestive biscuit crumbs)
- ⅓ cup granulated sugar
- ¼ cup unsalted butter, melted
- ¼ teaspoon ground cinnamon (optional, for extra flavor)
For the Filling:
- 2 cups ricotta cheese, well-drained
- 1 ½ cups cream cheese, softened
- 1 cup granulated sugar
- 3 large eggs
- 2 teaspoon vanilla extract
- 2 tablespoon all-purpose flour
- Pinch of salt
For the Pear Topping:
- 3 medium pears, peeled, cored, and sliced
- 1 tablespoon unsalted butter
- 2 tablespoon honey or maple syrup (for sweetness)
- 1 teaspoon cinnamon (optional, for a spiced flavor)
- 1 tablespoon fresh lemon juice (to balance the sweetness)
Optional Garnishes:
- Chopped pecans or walnuts
- Fresh mint leaves for a pop of color
- Powdered sugar, for dusting
How to Make for Pear Ricotta Cheesecake
Creating this Pear and Ricotta Cheesecake is simpler than it may seem, and with just a few steps, you’ll have a stunning dessert ready to impress. Follow these instructions carefully, and you’ll be enjoying a slice of creamy goodness in no time.
1. Prepare the Crust:
- Preheat the oven to 325°F (163°C).
- Combine the graham cracker crumbs, sugar, and cinnamon in a medium bowl. Stir well to combine.
- Add the melted butter to the dry ingredients and stir until the mixture resembles wet sand.
- Press the mixture into the base of a springform pan (9 inches in diameter is ideal) to form an even layer. Use the back of a spoon or the bottom of a glass to press down firmly.
- Bake the crust in the preheated oven for 10-12 minutes, or until golden brown. Once done, remove it from the oven and allow it to cool completely while you prepare the filling.
2. Make the Cheesecake Filling:
- In a large mixing bowl, beat together the ricotta cheese, cream cheese, and sugar using an electric mixer on medium speed. Beat until smooth and creamy, with no lumps.
- Add the eggs one at a time, beating well after each addition. This ensures the eggs are fully incorporated, which is key to a smooth filling.
- Stir in the vanilla extract, flour, and salt until just combined. Be careful not to overmix at this point.
- Pour the filling over the cooled graham cracker crust, spreading it evenly with a spatula.
3. Bake the Cheesecake:
- Place the cheesecake in the preheated oven and bake for 45-50 minutes, or until the edges are set and the center is slightly jiggly but not liquid.
- Turn off the oven and let the cheesecake cool in the oven for 1 hour with the door slightly ajar. This helps prevent cracks in the top.
- After cooling in the oven, transfer the cheesecake to the counter and let it cool completely. Then, refrigerate it for at least 4 hours, or preferably overnight, to allow the flavors to set and the texture to firm up.
4. Prepare the Pear Topping:
- While the cheesecake is chilling, prepare the pear topping. In a medium skillet, melt the butter over medium heat.
- Add the sliced pears to the pan and cook for about 5-7 minutes, until the pears start to soften but still hold their shape.
- Stir in the honey, cinnamon, and lemon juice, and cook for an additional 1-2 minutes until the pears are coated and the syrup thickens slightly.
- Remove from heat and let the pears cool to room temperature before using as a topping.
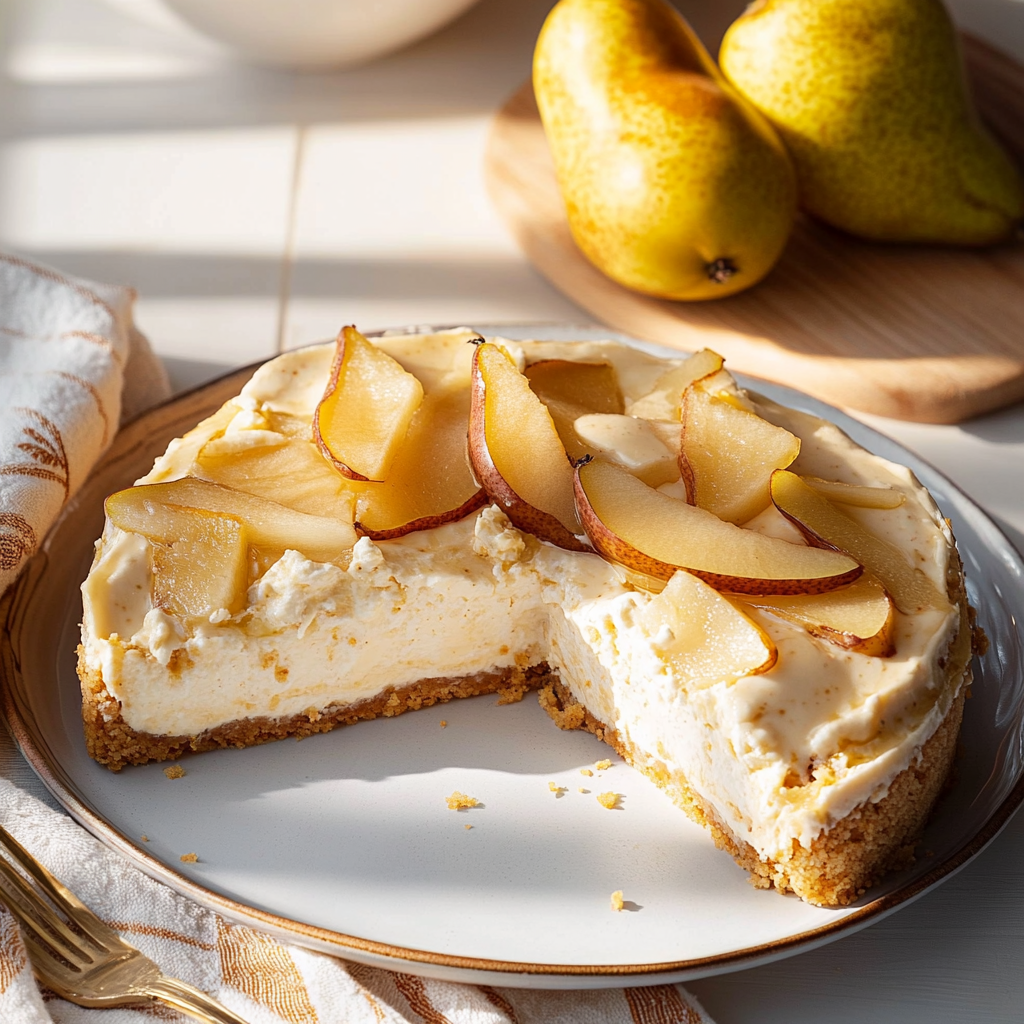
5. Assemble the Cheesecake:
- Once the cheesecake has fully chilled, carefully remove it from the springform pan and transfer it to a serving platter.
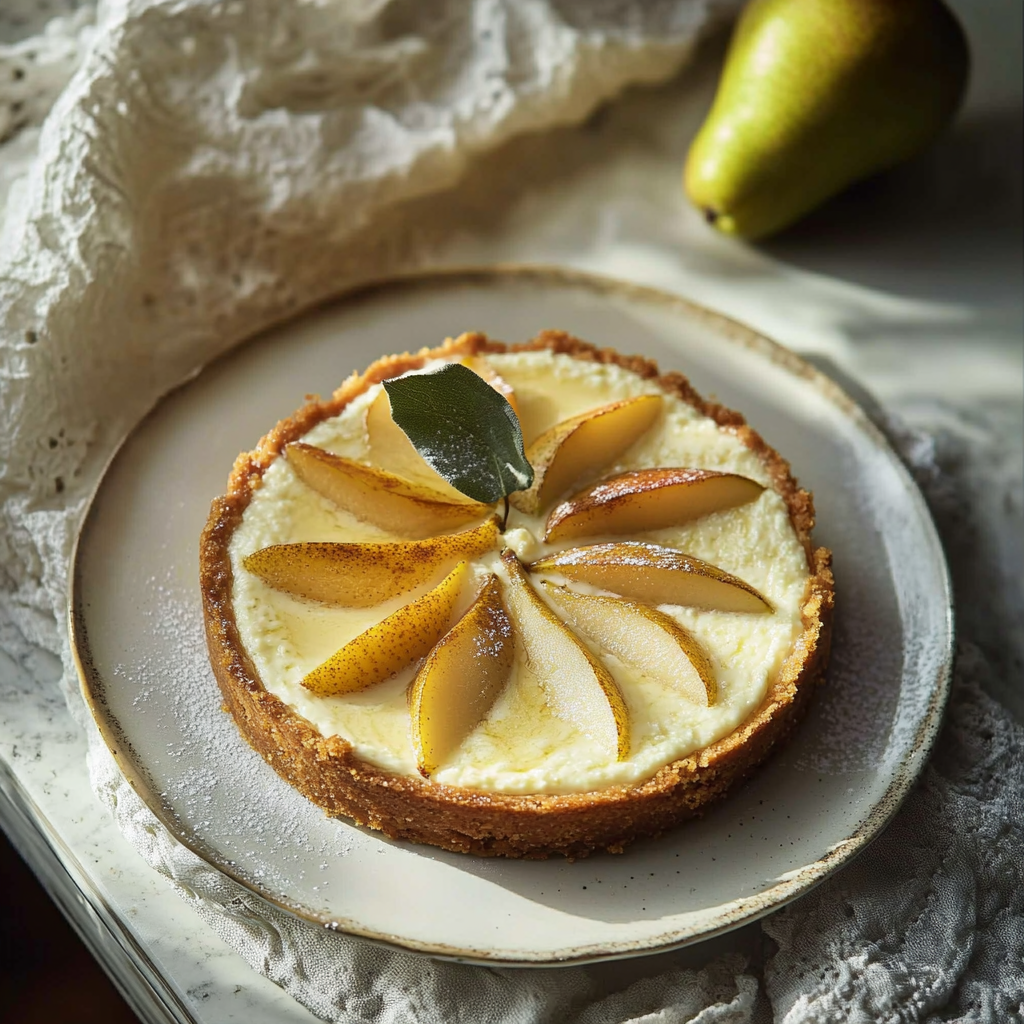
- Top the cheesecake with the pear mixture, spreading it evenly over the surface.
- Optional: Garnish with chopped nuts and fresh mint leaves for added texture and visual appeal.
Serving and Storage Tips for Pear Ricotta Cheesecake
Once your Pear and Ricotta Cheesecake is complete, it’s time to serve and enjoy! Here are some tips to help you get the most out of your dessert:

Serving Tips for Pear Ricotta Cheesecake:
- Slice carefully: Use a sharp knife to cut clean slices of cheesecake. If the cheesecake is particularly firm, warm the knife in hot water and wipe it dry between cuts for perfect slices.
- Serve chilled or at room temperature: While this cheesecake is best served cold, some people enjoy it a little closer to room temperature. Let it sit out for 10-15 minutes before serving if you prefer a softer texture.
- Pair with a light beverage: This dessert pairs well with a fresh fruit tea or a light sparkling water with a splash of lemon, which complements the richness of the cheesecake without overpowering it.
- Add extra toppings: Serve with a dollop of whipped cream, a sprinkle of toasted almonds, or a drizzle of caramel sauce for an extra indulgent touch.
Storage Tips for Pear Ricotta Cheesecake:
- Refrigeration is key: This Pear and Ricotta Cheesecake should always be stored in the fridge. Keep it covered tightly with plastic wrap or in an airtight container to prevent it from absorbing odors from other foods.
- It lasts well: When stored properly, this cheesecake will stay fresh in the refrigerator for up to 5 days. The pears will soften over time, so it’s best to add the pear topping just before serving if you plan to keep it for more than a day.
- Freezing for later: If you want to store the cheesecake for a longer period, you can freeze individual slices or the entire cake. Wrap it tightly in plastic wrap and then aluminum foil. It will last in the freezer for up to 3 months. To thaw, simply transfer it to the fridge for several hours or overnight.
Mistakes to Avoid for Pear Ricotta Cheesecake
Making a cheesecake can seem intimidating, but with a few simple guidelines, you can avoid common pitfalls and achieve a perfect result. Here are some key mistakes to avoid when making your Pear and Ricotta Cheesecake:
1. Not Using Room Temperature Ingredients:
One of the most common mistakes in cheesecake recipes is not using room temperature ingredients. This is particularly important for the cream cheese and ricotta. If your ingredients are cold, they can cause the filling to be lumpy and uneven. Make sure to take the cream cheese and ricotta out of the fridge at least 30-60 minutes before using them. This ensures they blend smoothly into the batter, creating a creamy and lump-free filling.
2. Overmixing the Filling:
When making the cheesecake filling, don’t overmix the batter once the eggs are added. Overmixing can introduce excess air into the batter, causing the cheesecake to puff up too much during baking and then sink or crack as it cools. Mix the ingredients just until they’re combined, ensuring a smooth, creamy consistency without overworking the mixture.
3. Opening the Oven Door Too Early:
It’s tempting to check on your cheesecake while it’s baking, but avoid opening the oven door too soon. A sudden change in temperature can cause the cheesecake to crack or sink in the middle. Let the cheesecake bake undisturbed until it’s nearly finished. If you're unsure, gently shake the pan—if the center still jiggles slightly, it's done. Turn off the oven, let it cool inside, and then refrigerate it for the best texture.
4. Not Letting the Cheesecake Cool Properly:
Don’t skip the crucial cooling step! After baking, the cheesecake needs to cool gradually in the oven with the door ajar for at least 1 hour. This helps to prevent cracking. Once cooled to room temperature, refrigerate it for at least 4 hours (overnight is best) to allow the flavors to meld and the texture to set. Rushing this process can result in a cheesecake that’s too soft or doesn't hold its shape.
5. Using Underripe Pears for the Topping:
The pears used for the topping should be ripe but firm. Underripe pears can be too hard and lack the sweetness and flavor needed to complement the cheesecake. Ensure that your pears are ripe but not overly soft. If you’re unsure, choose a pear variety like Bartlett or Anjou, which are known for their sweetness and ability to hold up well when cooked.
Tips and Tricks for Pear Ricotta Cheesecake
Here are some expert tips and tricks to elevate your Pear and Ricotta Cheesecake and make it even more delicious:

1. Enhance the Flavor with Zest:
Add a touch of lemon zest to the ricotta filling for an extra layer of flavor. A teaspoon of fresh lemon zest brightens the cheesecake and balances out the richness of the cream cheese and ricotta, creating a refreshing contrast to the sweet pear topping.
2. Use a Water Bath for a Creamier Texture:
For an ultra-smooth, creamy cheesecake with no cracks, consider baking your cheesecake in a water bath. To do this, wrap the bottom of your springform pan with heavy-duty aluminum foil to prevent any leaks. Place the pan in a larger baking dish and add about 1 inch of hot water around the pan. This gentle, even heat helps the cheesecake bake more slowly and evenly, reducing the chances of cracks.
3. Experiment with Spices:
The pear topping can be spiced up with a dash of ground ginger or nutmeg for a warm, autumnal twist. If you like a bit of extra warmth, sprinkle a little ground cardamom into the pear mixture, which pairs beautifully with both pears and ricotta.
4. Try Different Fruits for the Topping:
While the pear topping is a classic, don’t be afraid to experiment with other fruits. Apples, peaches, or berries can also work beautifully as toppings. For a tropical twist, try using mango slices or pineapple chunks. Just be sure to adjust the sweetness of the fruit according to its ripeness.
5. Add a Crunchy Texture with Nuts:
For some added crunch, sprinkle chopped toasted almonds, pecans, or walnuts over the pear topping. This not only adds texture but also complements the creamy filling and soft fruit with a satisfying crunch.
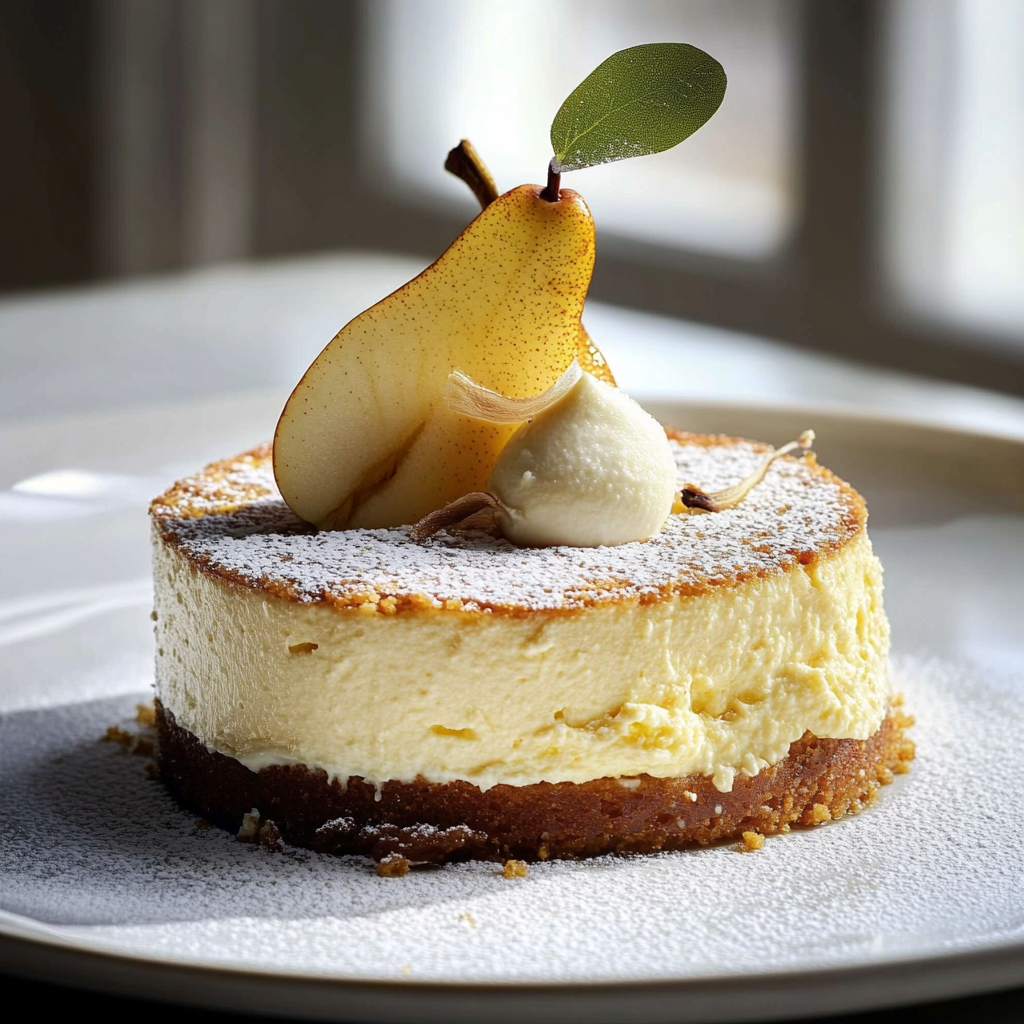
6. Serve with a Light Whipped Cream:
For an extra indulgent touch, serve each slice of your Pear and Ricotta Cheesecake with a dollop of freshly whipped cream. Keep it light and fluffy, as the creamy cheesecake already has enough richness.
Suggestions for Pear Ricotta Cheesecake
While the Pear and Ricotta Cheesecake is delicious as is, there are many ways to customize the recipe to suit your tastes or to give it a personal twist. Here are a few suggestions to elevate your cheesecake or make it your own:
1. Add a Layer of Jam or Jelly:
For extra flavor, try spreading a thin layer of fruit jam or fruit preserves on top of the cheesecake before adding the pear topping. Apricot jam, strawberry jam, or even a tart raspberry preserve will work wonderfully. The jam adds a sweet and slightly tangy flavor that complements the creamy cheesecake and juicy pears.
2. Make a Gluten-Free Version for Pear Ricotta Cheesecake:
If you're following a gluten-free diet, you can easily make the crust gluten-free by substituting the graham crackers with gluten-free biscuit crumbs or gluten-free graham crackers. Ensure that all other ingredients, such as the cream cheese and ricotta, are certified gluten-free.
3. Add a Layer of Chocolate for Pear Ricotta Cheesecake:
If you're a fan of chocolate, consider adding a layer of dark chocolate ganache between the crust and the cheesecake filling. This rich and decadent addition pairs beautifully with the creamy ricotta filling and sweet pears. To make the ganache, simply melt 4 oz of dark chocolate with ¼ cup of heavy cream, let it cool slightly, then spread it over the cooled crust before adding the cheesecake filling.
4. Try a No-Bake Version for Pear Ricotta Cheesecake:
For a quicker, no-bake variation, you can skip the oven and chill the cheesecake in the fridge instead. Substitute the eggs in the filling with agar-agar or gelatin to help the filling set without baking. Simply dissolve the agar or gelatin in hot water and mix it into the ricotta filling. Chill the cheesecake for several hours until firm.
5. Serve with a Fresh Berry Compote:
For a burst of fresh fruit flavor, serve the cheesecake with a berry compote on top. Combine fresh or frozen berries like blueberries, raspberries, and blackberries with a little sugar and lemon juice. Simmer on the stovetop for a few minutes until the fruit breaks down and thickens slightly. Drizzle over each slice before serving for a tangy, sweet contrast to the richness of the cheesecake.
FAQ for Pear Ricotta Cheesecake
1. Can I make this cheesecake ahead of time?
Absolutely! In fact, this cheesecake is best when made ahead of time. The flavors need time to meld, and the texture improves after a few hours of chilling. You can make the cheesecake a day or two before you plan to serve it and store it in the fridge. Just make sure to add the pear topping shortly before serving for the best texture.
2. Can I use other fruits besides pears for the topping?
Yes! While pears are a classic choice, you can swap them for other fruits like apples, peaches, or berries. If you use berries, it might be a good idea to cook them down into a compote (as mentioned in the Suggestions section) to avoid excess moisture. Apples or peaches work well when sautéed or roasted for a caramelized effect.
3. Can I freeze this cheesecake?
Yes, this cheesecake can be frozen for up to 3 months. To freeze, wrap the cheesecake tightly in plastic wrap and then aluminum foil to prevent freezer burn. When you’re ready to serve, let it thaw in the fridge for several hours before adding the pear topping and serving.
4. What should I do if the cheesecake cracks while baking?
A small crack is nothing to worry about! However, if you're looking for a perfectly smooth cheesecake, try using a water bath to bake it more gently. Additionally, avoid opening the oven door too soon and let the cheesecake cool gradually in the oven to prevent drastic temperature changes that could cause cracks.
5. Can I make the crust without using butter?
Yes, you can substitute the butter in the crust with coconut oil for a dairy-free option or use a vegan butter substitute. You could also try using almond meal or oats for a healthier alternative to graham crackers, though this will slightly change the flavor and texture.
6. How do I know when the cheesecake is done baking?
The cheesecake is done when the edges are set and the center is still slightly jiggly. If the center moves like jelly when you gently shake the pan, it’s ready. Keep in mind that the cheesecake will continue to firm up as it cools. If you use a water bath, the cheesecake will bake more evenly and slowly, reducing the chances of overbaking.
Conclusion for Pear Ricotta Cheesecake
The Pear and Ricotta Cheesecake is the epitome of a balanced dessert—deliciously creamy yet light, with a subtle sweetness from the pears that perfectly complements the smooth texture of the ricotta filling. Whether you're hosting a dinner party, celebrating a special occasion, or simply treating yourself to a homemade indulgence, this cheesecake will undoubtedly become a favorite.
With its easy-to-follow steps and versatile options for customization, this cheesecake can be tailored to your tastes and dietary preferences. From adding a bit of spice with cinnamon or ginger to swapping the pears for apples or berries, you can easily make this recipe your own. The smooth, creamy filling, crunchy graham cracker crust, and sweet, caramelized pears create a symphony of flavors and textures that are sure to impress anyone who takes a bite.
Remember to take your time with the cooling process and allow the cheesecake to set in the fridge—this is key to achieving the perfect texture and flavor. And don’t forget the pear topping: it adds the perfect finishing touch and can be made ahead of time for convenience.
So, the next time you're in the mood for a dessert that’s both indulgent and refreshing, give this Pear and Ricotta Cheesecake a try. With its delicate flavors and beautiful presentation, it’s a dessert that’s sure to be the star of the show.
Print
Delicious Pear and Ricotta Cheesecake
- Total Time: 1 hour 10 minutes
Description
A creamy, light, and delicious cheesecake featuring ricotta cheese and sweet pears. Perfect for any occasion, this dessert combines a buttery crust with a smooth, velvety filling, topped with caramelized pears for a delightful finish.
Ingredients
For the crust:
- 1 ½ cups graham cracker crumbs (or digestive biscuit crumbs)
- ⅓ cup granulated sugar
- ¼ cup unsalted butter, melted
- ¼ tsp ground cinnamon (optional)
For the filling:
- 2 cups ricotta cheese, well-drained
- 1 ½ cups cream cheese, softened
- 1 cup granulated sugar
- 3 large eggs
- 2 tsp vanilla extract
- 2 tbsp all-purpose flour
- Pinch of salt
For the pear topping:
- 3 medium pears, peeled, cored, and sliced
- 1 tbsp unsalted butter
- 2 tbsp honey or maple syrup
- 1 tsp cinnamon (optional)
- 1 tbsp fresh lemon juice
Instructions
Prepare the crust:
- Preheat oven to 325°F (163°C).
- Combine graham cracker crumbs, sugar, and cinnamon in a bowl. Add melted butter and stir until the mixture resembles wet sand.
- Press the mixture into the base of a 9-inch springform pan.
- Bake for 10-12 minutes or until golden. Allow to cool.
2. Make the filling:
- Beat ricotta cheese, cream cheese, and sugar together in a large bowl until smooth.
- Add eggs one at a time, beating well after each addition. Stir in vanilla, flour, and salt.
- Pour filling into the cooled crust and spread evenly.
3. Bake the cheesecake:
- Bake at 325°F for 45-50 minutes, until the edges are set and the center slightly jiggles.
- Turn off the oven, leave the door ajar, and let it cool for 1 hour. Then refrigerate for at least 4 hours or overnight.
4. Prepare the pear topping:
- Melt butter in a skillet over medium heat. Add sliced pears, honey, cinnamon, and lemon juice. Cook for 5-7 minutes until pears soften and syrup thickens.
- Let cool before topping the cheesecake.
5. Assemble:
- Once cheesecake is chilled, remove from pan and top with caramelized pears.
- Optional: Garnish with chopped nuts or fresh mint.
Notes
- For a richer flavor, you can add a teaspoon of lemon zest to the filling.
- To make a gluten-free version, use gluten-free graham cracker crumbs or almond meal for the crust.
- If pears are not in season, feel free to substitute with other fruits like apples or peaches.
- The cheesecake can be made a day or two in advance and stored in the fridge.
- Prep Time: 20 minutes
- Cook Time: 50 minutes
Nutrition
- Calories: 310
- Sugar: 25g
- Sodium: 160mg
- Fat: 18g
- Carbohydrates: 35g
- Fiber: 2g
- Protein: 6g
- Cholesterol: 95mg