There’s something utterly magical about the first bite of a Japanese cheesecake — soft, fluffy, and light as air, yet creamy and rich at the same time. If you’ve ever experienced the delightful texture of a jiggly, cloud-like Japanese cheesecake, you know exactly what makes it different from traditional cheesecakes. The allure of this dessert lies in its perfect balance of flavors and textures, with a melt-in-your-mouth quality that sets it apart from dense, heavy cheesecakes we’re used to.
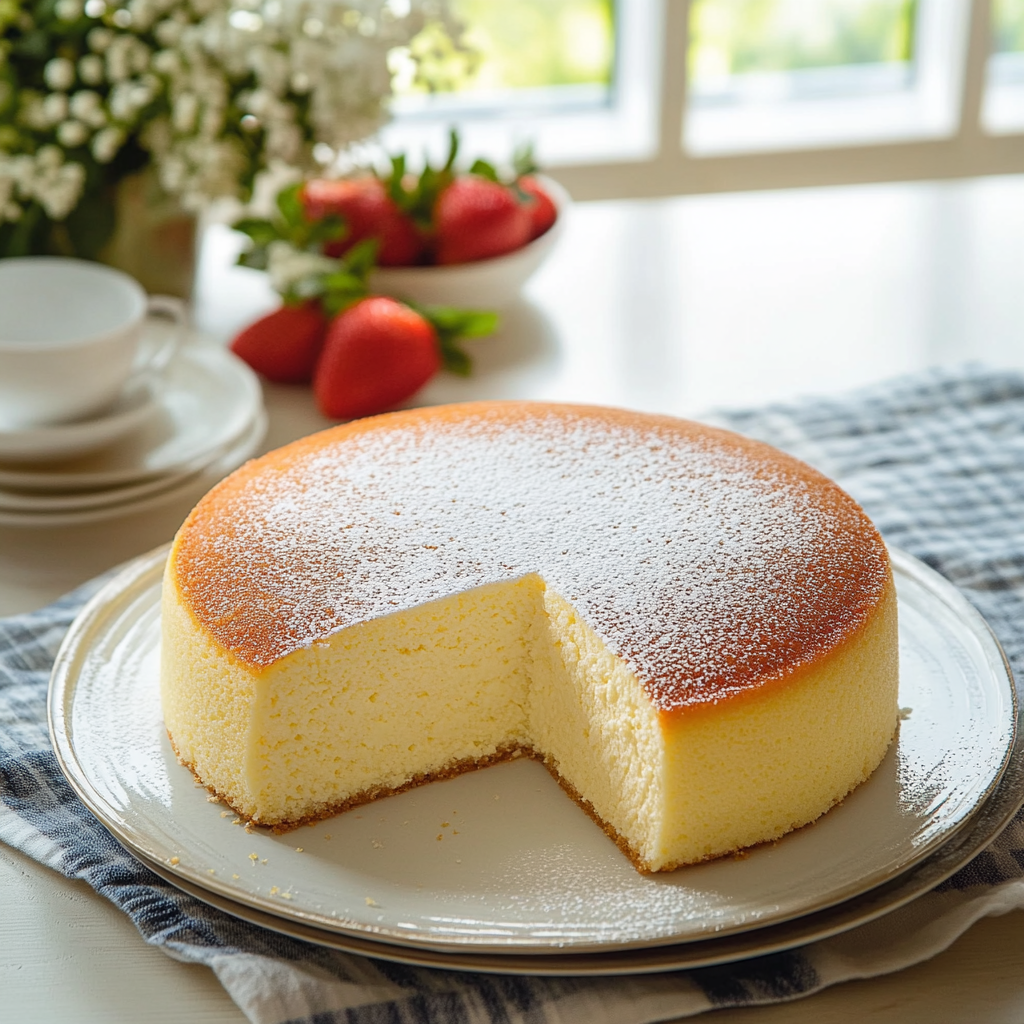
Japanese cheesecake, also known as "cotton cheesecake" or "soufflé cheesecake," is much lighter than its Western counterpart due to the incorporation of whipped egg whites into the batter. The result is a fluffy, airy cake that has a slight jiggle when you cut into it — hence its name. It’s the perfect dessert for anyone who finds traditional cheesecake too rich or heavy. What’s more, it’s a relatively easy recipe to master with a few simple ingredients, and you don’t need any fancy kitchen gadgets to make it a success.
In this blog, we’ll walk you through everything you need to know to make this delectable treat in your own kitchen. Whether you’re an experienced baker or a novice just starting to explore the world of cakes, this recipe will help you create the perfect Japanese cheesecake that will wow your guests and have them asking for seconds.
What You’ll Need for Jiggly Japanese Cheesecake
Creating the ideal jiggly Japanese cheesecake is all about using the right ingredients in the right proportions. Don’t worry — most of the items needed are common pantry staples, and you won’t need anything too exotic to make this delightful dessert. Below is a breakdown of what you’ll need to gather before you start baking:
Key Ingredients for Jiggly Japanese Cheesecake:
- Cream Cheese (8 oz) – Choose a good-quality cream cheese, preferably full-fat for the best texture. This is the base of your cheesecake and will provide that signature creamy flavor.
- Butter (½ cup) – Butter adds richness and depth to the batter. Use unsalted butter for greater control over the cake’s flavor.
- Whole Milk (½ cup) – Milk helps loosen the batter and adds moisture to the cake. You can substitute with any plant-based milk like almond or oat milk for a dairy-free version.
- All-Purpose Flour (¼ cup) – Flour gives the cheesecake structure and helps hold the airy texture together.
- Cornstarch (2 tbsp) – Cornstarch helps stabilize the batter and prevents it from being too runny. It also contributes to the soft, delicate texture of the cake.
- Eggs (4 large eggs) – Eggs provide structure to the cheesecake and help create that light, soufflé-like texture when whipped properly.
- Granulated Sugar (¾ cup) – Sugar adds sweetness and balance to the flavors. You may adjust the sweetness depending on your personal preference.
- Lemon Juice (1 tbsp) – A hint of lemon juice brightens up the flavor and adds a fresh, zesty note to the cheesecake.
- Vanilla Extract (1 tsp) – A touch of vanilla extract rounds out the flavors and complements the creaminess of the cheesecake.
Special Equipment for Jiggly Japanese Cheesecake:
- Springform Pan (8-inch) – A springform pan makes it easy to remove the cheesecake once it’s baked. Make sure to line the bottom with parchment paper to prevent sticking.
- Electric Mixer or Stand Mixer – To whip the egg whites to stiff peaks, an electric mixer is a must.
- Double Boiler – This will be used for gently melting the cream cheese and butter together. You can create a makeshift double boiler by placing a heatproof bowl over a pot of simmering water.
How to Make for Jiggly Japanese Cheesecake
Now that you have all your ingredients, it’s time to get started on making your own jiggly Japanese cheesecake. The process might seem a little intricate, but don't be intimidated! With the right approach, it’s a straightforward and fun recipe to follow. Below is a detailed, step-by-step guide to help you through each part of the process.
Step 1: Prepare the Springform Pan
Before you begin, preheat your oven to 320°F (160°C) and line your springform pan with parchment paper. Grease the sides lightly with butter to ensure the cheesecake comes out easily once it’s baked. You can also wrap the outside of the pan with aluminum foil to prevent water from seeping in during the water bath.
Step 2: Melt Cream Cheese, Butter, and Milk
Start by placing your cream cheese, butter, and milk into a heatproof bowl. Use a double boiler setup to melt these ingredients gently. Stir occasionally to help the butter and cream cheese blend into a smooth, creamy mixture. Once everything is melted and combined, remove the bowl from the heat and set it aside to cool slightly. You don’t want this mixture to be too hot when you add the eggs later.
Step 3: Mix Dry Ingredients for Jiggly Japanese Cheesecake
In a separate bowl, sift together the all-purpose flour and cornstarch. Sifting is important because it helps prevent clumps and ensures a smooth batter. After sifting, set the dry ingredients aside.
Step 4: Separate Eggs and Whip the Egg Whites
Carefully separate the egg yolks from the whites. Place the egg whites into a clean mixing bowl and beat them with an electric mixer on medium speed. Once the whites start to froth, add about half of the sugar (around ⅓ cup) gradually, a little at a time. Continue beating until stiff peaks form, which means the egg whites will hold their shape and not collapse when you lift the beaters.
In a separate bowl, whisk the egg yolks with the remaining sugar and lemon juice until the yolks become thick and pale yellow. Add the melted cream cheese mixture to the egg yolks and stir until smooth. Now sift in the dry ingredients and mix until fully incorporated. The batter should be smooth and slightly thick.
Step 5: Fold in the Egg Whites
This is the key to achieving that fluffy texture! Gently fold the beaten egg whites into the egg yolk mixture in three batches. Use a spatula to cut through the batter, lifting and folding until fully incorporated. Be careful not to deflate the egg whites — the more air you can preserve in the mixture, the lighter and fluffier your cheesecake will be.
Step 6: Bake the Cheesecake
Pour the batter into your prepared springform pan and tap the pan gently on the counter to remove any air bubbles. To bake the cheesecake, place the pan in a larger roasting pan and add hot water to the outer pan to create a water bath. The water should come up about halfway up the sides of the cheesecake pan.
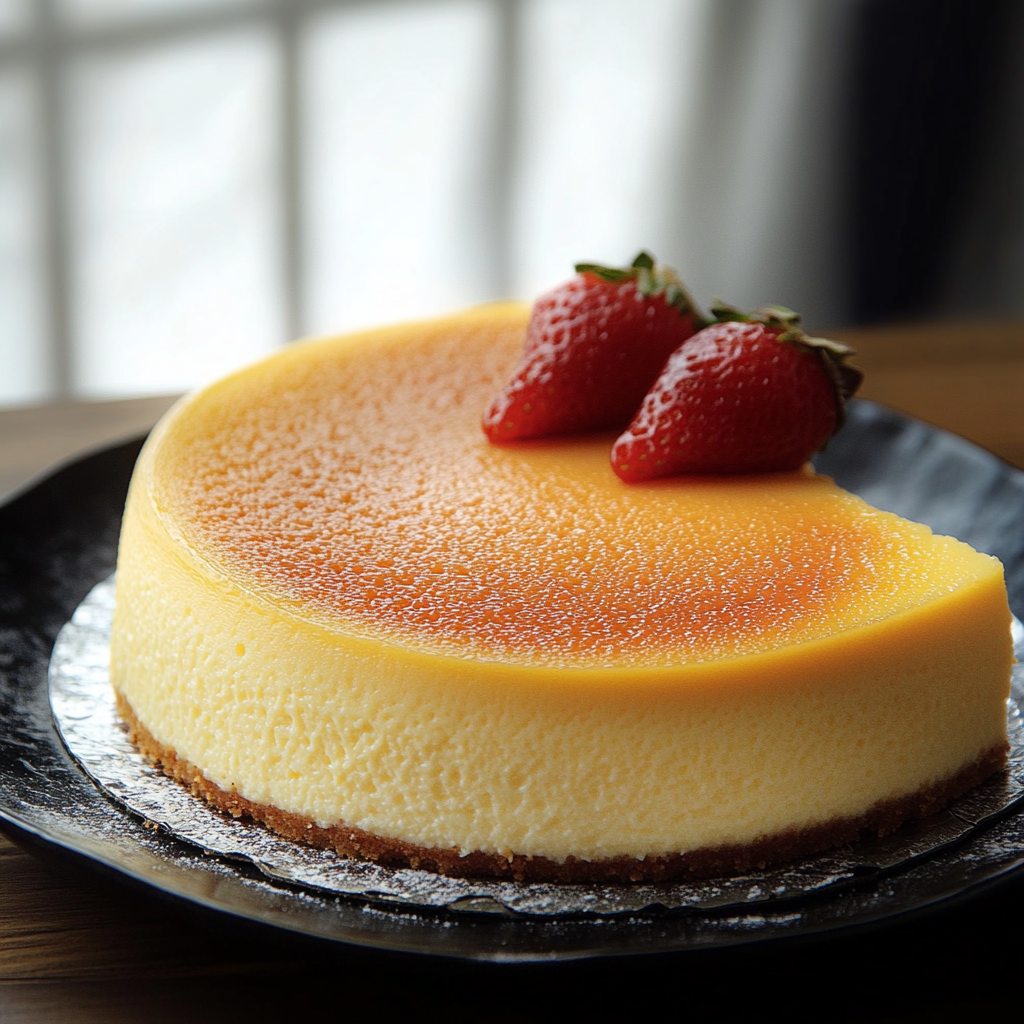
Bake the cheesecake for 60-70 minutes, or until the top is golden brown and the center is set but still slightly jiggly. You can test the cake by inserting a toothpick — it should come out clean, with a small amount of batter sticking to it.
Step 7: Cool and Unmold
Once the cheesecake is done baking, turn off the oven and let the cake cool inside with the door ajar for about an hour. This gradual cooling helps prevent cracks from forming. After an hour, remove the cheesecake from the oven and allow it to cool completely at room temperature. Once cool, refrigerate for at least 4 hours or overnight for best results. Before serving, run a knife around the edges of the pan to loosen the cheesecake, then carefully remove the sides of the springform pan.
Serving and Storage Tips for Jiggly Japanese Cheesecake
Once your cheesecake has chilled and set, it’s time to serve and enjoy! But first, let's go over the best ways to cut, serve, and store your masterpiece.

Serving Tips for Jiggly Japanese Cheesecake
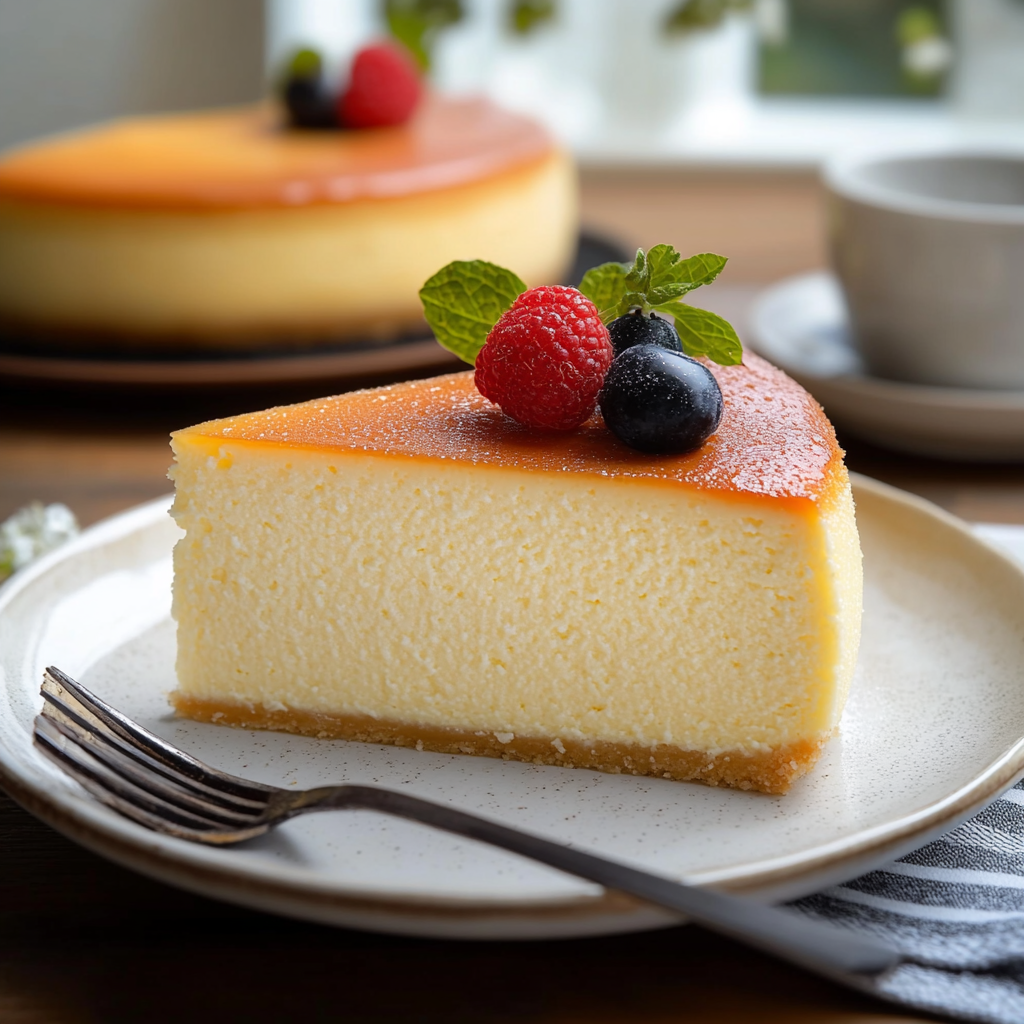
Japanese cheesecake is incredibly light and airy, so you don’t need large slices to satisfy your sweet tooth. To cut the cheesecake cleanly, make sure to use a sharp, non-serrated knife. Dip the knife in warm water before each cut and wipe it clean for each slice to ensure smooth, neat edges.
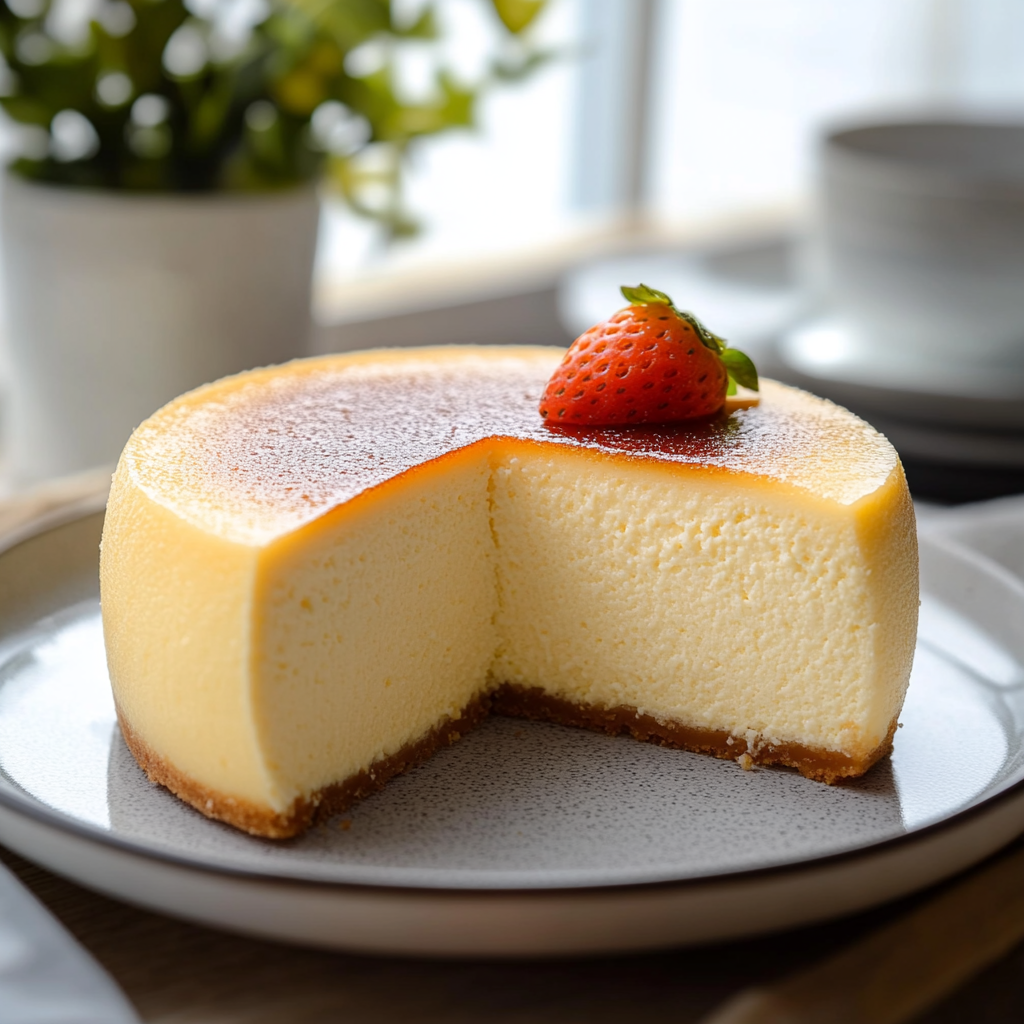
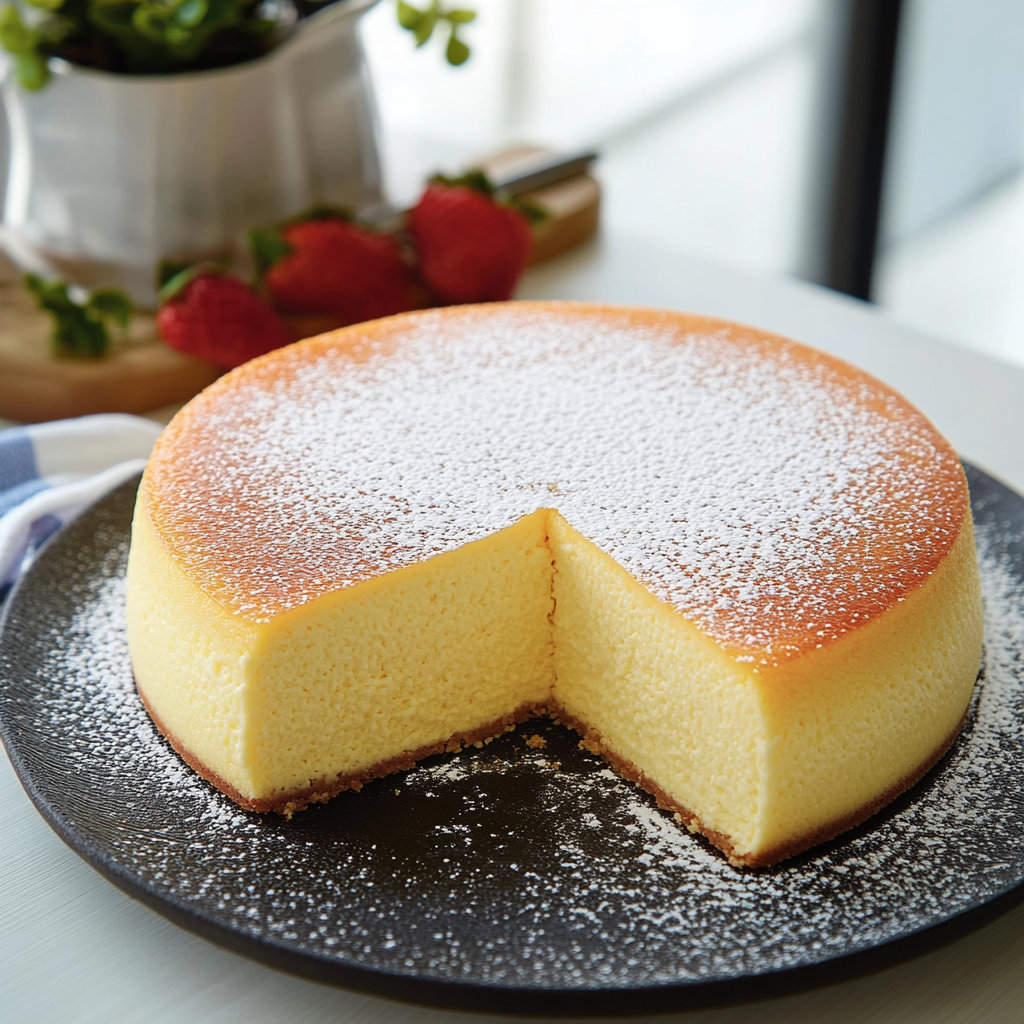
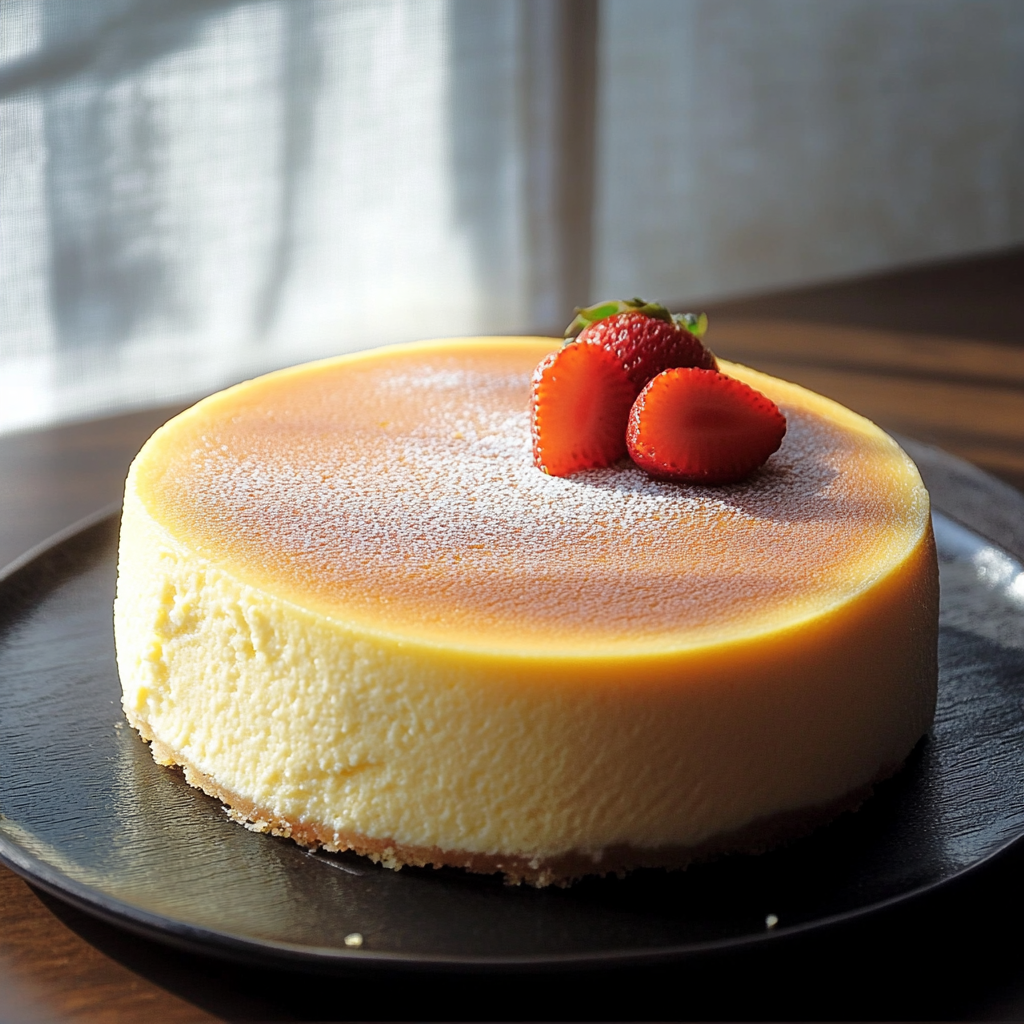
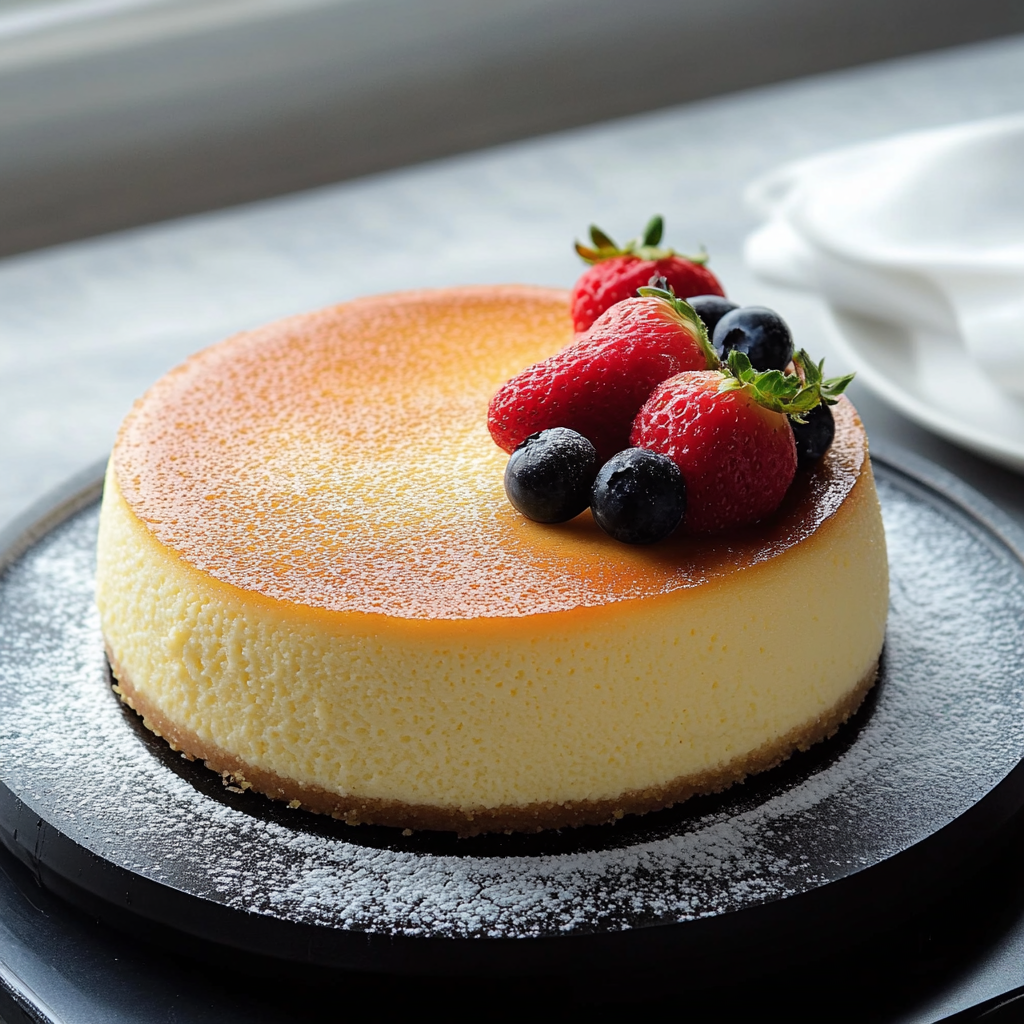
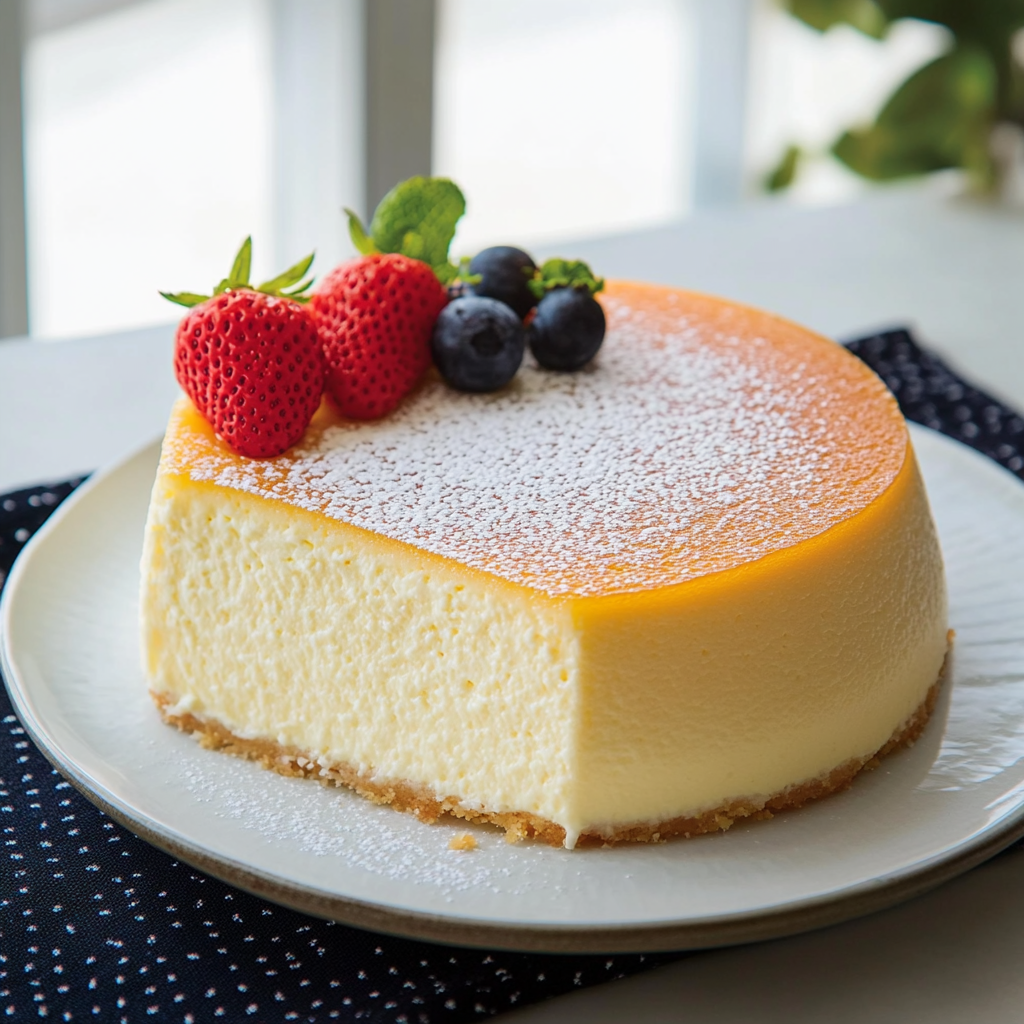
You can serve the cheesecake plain for a simple yet elegant presentation, or you can add toppings for a little extra flair. Fresh berries like strawberries, raspberries, or blueberries complement the soft texture beautifully. A drizzle of honey, maple syrup, or even a dollop of whipped cream can also elevate the flavor. For a more festive touch, sprinkle some powdered sugar over the top just before serving.
Storage Tips for Jiggly Japanese Cheesecake
Japanese cheesecake is best eaten fresh, but it can be stored for a few days to enjoy later. Once the cheesecake has fully cooled and been sliced, store the leftovers in an airtight container in the refrigerator. This will help maintain its light, creamy texture for up to 3-4 days. Avoid freezing the cheesecake, as the texture may become compromised once thawed.
Mistakes to Avoid for Jiggly Japanese Cheesecake
Baking a Japanese cheesecake is a delicate process, and while it’s not overly difficult, there are a few common mistakes that can prevent you from achieving that dreamy, light texture. Let’s go over what to watch out for so you can avoid these pitfalls and create a flawless cheesecake every time.
1. Not Whipping the Egg Whites to Stiff Peaks
The airiness of the cheesecake comes from the whipped egg whites, so it’s crucial to beat them properly. If the egg whites aren’t whipped to stiff peaks, your batter will lack volume and won’t have the light, soufflé-like texture that makes Japanese cheesecake so special. Be sure to beat the egg whites until they are stiff and glossy. If you overbeat them, though, they can become dry and difficult to incorporate into the batter, so stop once you see firm peaks.
2. Overmixing the Batter
When folding the egg whites into the egg yolk mixture, be gentle and avoid overmixing. The key here is to preserve as much air in the batter as possible. Overmixing can deflate the whipped egg whites and result in a denser texture. Use a gentle folding motion with a spatula to combine the ingredients without losing the fluffiness.
3. Using Hot Ingredients
When adding the melted cream cheese and butter mixture to the egg yolks, make sure that the mixture is not too hot. If it’s too warm, it could cook the egg yolks, leading to a lumpy batter. Allow the cream cheese mixture to cool slightly before incorporating it with the egg yolks to prevent this from happening.
4. Not Using a Water Bath
The water bath (also known as a bain-marie) is essential for achieving the soft, silky texture of the Japanese cheesecake. The water helps maintain an even temperature while baking, preventing the cheesecake from cracking or drying out. Don’t skip this step! Make sure the water reaches about halfway up the sides of the cheesecake pan.
5. Opening the Oven Door Too Soon
Patience is key when baking a Japanese cheesecake. If you open the oven door too soon, the drastic change in temperature can cause the cheesecake to collapse, which is the last thing you want. Wait until the cake has baked for at least an hour before even considering opening the oven door. Afterward, let it cool gradually inside the oven with the door slightly ajar for best results.
Tips and Tricks for Jiggly Japanese Cheesecake
Now that you know the common mistakes to avoid, let’s go over some pro tips and tricks to help you elevate your Japanese cheesecake to the next level. With these tips, you can tweak the recipe to suit your taste or perfect your technique.
1. Use Room Temperature Ingredients
This is a classic baking tip that applies to many desserts, but it’s especially important for Japanese cheesecake. Room temperature ingredients mix together more smoothly and evenly, preventing clumps or uneven texture. Allow your eggs, cream cheese, and butter to come to room temperature before you begin, which will help achieve a more consistent batter.
2. Experiment with Flavors
While the traditional Japanese cheesecake is absolutely delicious on its own, you can customize it with different flavors to make it your own. Adding a teaspoon of matcha powder for a green tea flavor or a swirl of fruit puree, like raspberry or mango, can introduce new taste dimensions. Be sure to adjust the sugar accordingly if you’re adding something sweet like fruit or chocolate.
3. Chill the Cheesecake Overnight
For the best results, refrigerate your cheesecake for at least 4 hours, but overnight chilling is ideal. This gives the cheesecake time to fully set, which enhances both the texture and flavor. The longer it chills, the firmer and smoother the texture will become, so if you can plan ahead, this is definitely worth the wait.
4. Add a Decorative Topping
If you want to make your Japanese cheesecake extra special, consider decorating the top. A light dusting of powdered sugar is a classic choice. You could also top it with fresh whipped cream or a few sprigs of mint for a simple, elegant finish. For a more adventurous take, a fruit topping like macerated strawberries or a drizzle of caramel sauce can turn your cheesecake into a showstopper.
5. Try a Larger or Smaller Pan
While an 8-inch pan is the most common size for this recipe, you can experiment with different pan sizes depending on your preferences. Using a larger pan will result in a thinner cake, while a smaller pan will give you a thicker, more substantial cheesecake. Just be sure to adjust the baking time based on the size of your pan.
Suggestions for Jiggly Japanese Cheesecake
While the traditional Japanese cheesecake is simple and wonderful on its own, there are plenty of ways to get creative with the flavors and presentation. If you’re looking to add your own personal twist or experiment with new flavors, here are some suggestions to customize your cheesecake to suit your tastes or special occasions.
1. Add a Flavored Crust
While Japanese cheesecake is often made without a crust, you can certainly add one if you prefer a bit of crunch to contrast the soft texture of the cake. A graham cracker crust, a digestive biscuit crust, or even a shortbread crust can provide a nice foundation. To make it, simply crush your choice of biscuits or cookies and mix them with melted butter, then press the mixture into the bottom of the pan before adding the cheesecake batter.
2. Incorporate Citrus Zest
Lemon zest is a common addition to many cheesecakes, and it pairs wonderfully with the creamy texture of a Japanese cheesecake. Add the zest of one lemon or orange to the batter to enhance the fresh, bright flavor. Citrus zest can bring an extra level of complexity to the dessert, balancing the richness of the cream cheese.
3. Create a Marble Effect
For a fun twist on presentation, you can swirl in a flavored syrup or fruit puree (like raspberry, blueberry, or even matcha) to create a beautiful marble effect. To do this, simply drop spoonfuls of the puree onto the cheesecake batter and use a knife or skewer to swirl it into the mixture before baking. The result is a visually striking cake that has a hint of fruit or flavor throughout.
4. Top with Fresh Fruit or Jelly
A classic topping for Japanese cheesecake is fresh fruit, and the lightness of the cake pairs beautifully with the freshness of berries like strawberries, raspberries, or blueberries. Alternatively, you can use a fruit jelly or compote to add sweetness and color to the top. Fruit-flavored gelatin, such as mango or peach, works especially well for a vibrant look.
5. Make a Matcha Cheesecake
If you’re a fan of matcha, this is a fantastic option! Matcha powder can be added to the batter for a green tea-inspired Japanese cheesecake. Use about 2 teaspoons of high-quality matcha powder mixed into the dry ingredients or dissolved in a little warm water. Matcha’s slightly bitter flavor complements the creaminess of the cheesecake and gives it a lovely green color.
6. Flavor with Coffee or Chocolate
For those who love coffee or chocolate, adding a small amount of cocoa powder (2 tablespoons) or a shot of espresso can give the cheesecake a new depth of flavor. If you want a stronger chocolate flavor, you can even melt some chocolate and fold it into the batter. The rich, bittersweet taste will provide a unique twist on the traditional cheesecake.
FAQ for Jiggly Japanese Cheesecake
If you have questions about making Japanese cheesecake, you’re not alone! Here are answers to some of the most frequently asked questions to help guide you through the process.
1. Why does my Japanese cheesecake crack?
Cracking is a common issue with cheesecakes, and it usually occurs if the oven temperature is too high or if the cheesecake is cooled too quickly. To prevent cracks, always use a water bath to bake the cheesecake and allow it to cool gradually in the oven. Don’t open the oven door prematurely, as this can cause the cheesecake to shrink and crack.
2. Can I make this cheesecake ahead of time?
Yes! Japanese cheesecake actually benefits from being made ahead of time. Refrigerating it for at least 4 hours (or ideally overnight) helps the cake set and allows the flavors to develop. Just make sure to store it in an airtight container to keep it fresh.
3. Can I make a dairy-free Japanese cheesecake?
Yes! You can substitute the cream cheese and butter with dairy-free alternatives. Look for plant-based cream cheese made from cashews or coconut and use dairy-free butter. For the milk, you can substitute almond milk, oat milk, or any non-dairy milk of your choice. The texture may be slightly different, but the flavor will still be delicious!
4. Can I freeze Japanese cheesecake?
While it’s not recommended to freeze Japanese cheesecake because of its delicate, airy texture, it can be frozen if needed. To do so, wrap the cheesecake tightly in plastic wrap and then foil to prevent freezer burn. When you’re ready to eat, allow it to thaw in the refrigerator overnight, but keep in mind that the texture might not be as soft and jiggly as when it’s freshly made.
5. Can I use a different pan size?
Yes, you can experiment with different pan sizes, but keep in mind that the baking time will change depending on the size of the pan. A smaller pan will yield a thicker cake, while a larger pan will produce a thinner cake. Be sure to adjust the baking time accordingly and check for doneness with a toothpick or skewer.
Conclusion for Jiggly Japanese Cheesecake
Making a jiggly Japanese cheesecake at home is a rewarding experience that brings together simple ingredients and a little patience to create something truly extraordinary. With its light, airy texture and delicate, creamy flavor, this cheesecake is sure to become a favorite in your baking repertoire. Whether you’re serving it for a special occasion or enjoying a slice as an afternoon treat, the soft, melt-in-your-mouth texture of Japanese cheesecake is sure to impress.
By following the steps carefully and avoiding common mistakes, you can achieve a perfect cheesecake that jiggles with every bite, just like the ones served in Japanese bakeries. Plus, with so many customization options — from adding matcha for a green tea flavor to incorporating fresh fruit or even a graham cracker crust — you can make this cheesecake your own and impress your friends and family with your creativity.
Remember, the key to a great Japanese cheesecake is all in the technique: whipping the egg whites properly, using a water bath, and giving the cake time to cool and set. With these tips and tricks, you’ll be able to bake a light, fluffy, and irresistible dessert every time.
So, the next time you’re in the mood for a sweet treat, try making this jiggly Japanese cheesecake. It's a beautiful combination of simplicity and elegance that’ll have everyone asking for your secret recipe.
Print
Fluffy Jiggly Japanese Cheesecake Recipe
- Total Time: 1 hour 20 minutes
Description
This fluffy and airy Jiggly Japanese Cheesecake is the perfect light dessert, with a smooth, creamy texture that melts in your mouth. It’s lighter than traditional cheesecakes, and its delicate, soufflé-like consistency will leave you craving more.
Ingredients
- 8 oz cream cheese, softened
- ½ cup unsalted butter
- ½ cup whole milk (or any milk of choice)
- ¼ cup all-purpose flour
- 2 tbsp cornstarch
- 4 large eggs, separated
- ¾ cup granulated sugar
- 1 tbsp lemon juice
- 1 tsp vanilla extract
Instructions
- Preheat oven to 320°F (160°C). Grease an 8-inch springform pan and line the bottom with parchment paper.
- Melt cream cheese and butter in a double boiler over simmering water. Once melted, stir in the milk and remove from heat.
- Whisk egg yolks with sugar, lemon juice, and vanilla extract until thick and pale. Add the melted cream cheese mixture and mix until smooth.
- Sift flour and cornstarch into the batter, stirring until fully incorporated.
- Beat egg whites until soft peaks form. Gradually add the remaining sugar and continue beating until stiff peaks form.
- Fold egg whites into the egg yolk mixture in three additions, being gentle to retain air.
- Pour batter into the prepared pan and tap gently to remove air bubbles. Place the pan in a larger roasting pan and add hot water to create a water bath.
- Bake for 60-70 minutes, or until the top is golden brown and the center jiggles slightly. Let cool in the oven with the door ajar for 1 hour.
- Cool completely at room temperature, then refrigerate for at least 4 hours before removing from the pan.
Notes
- For a firmer texture, let the cheesecake chill overnight.
- Be careful when folding the egg whites to avoid deflating them — the fluffiness is key!
- You can top the cheesecake with fresh fruit, powdered sugar, or a fruit compote for extra flavor.
- Prep Time: 20 minutes
- Cook Time: 60 minutes
Nutrition
- Calories: 210
- Sugar: 14g
- Sodium: 160mg
- Fat: 12g
- Carbohydrates: 22g
- Protein: 4g