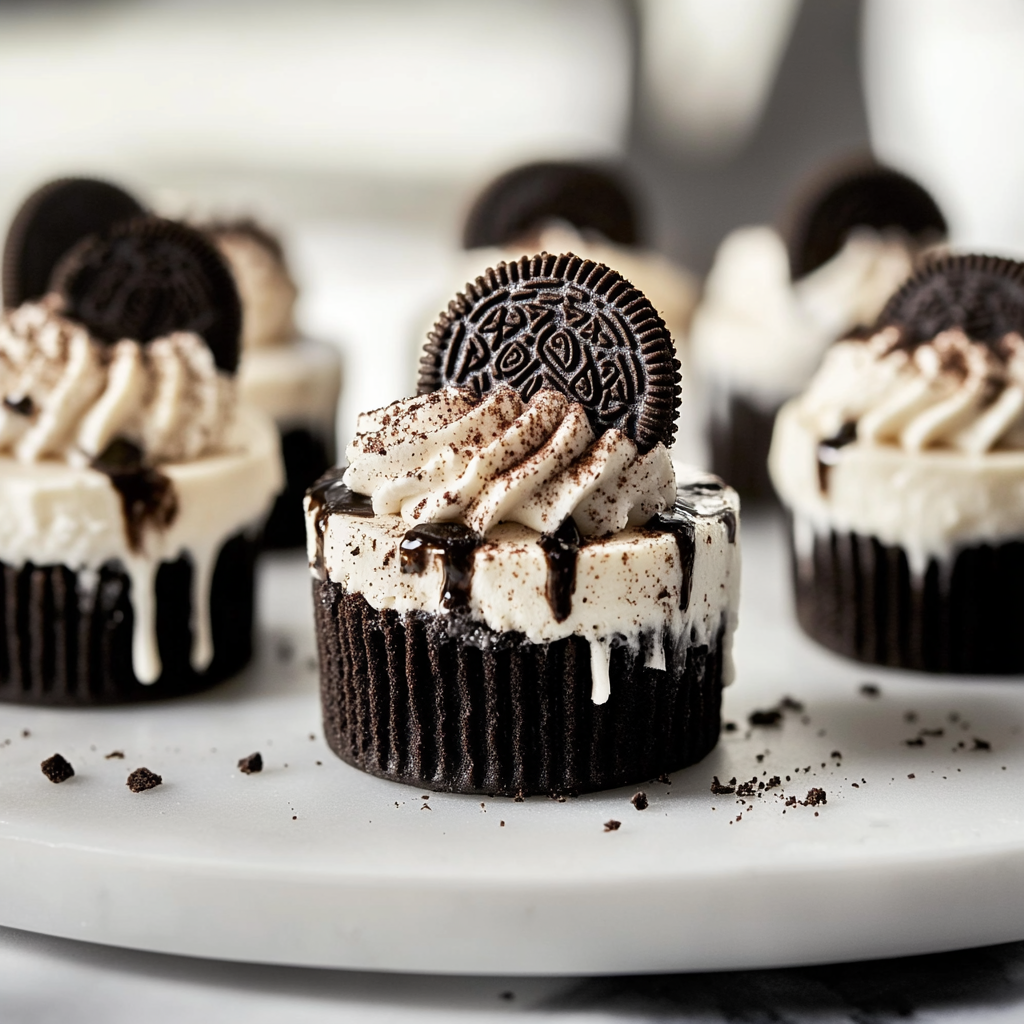
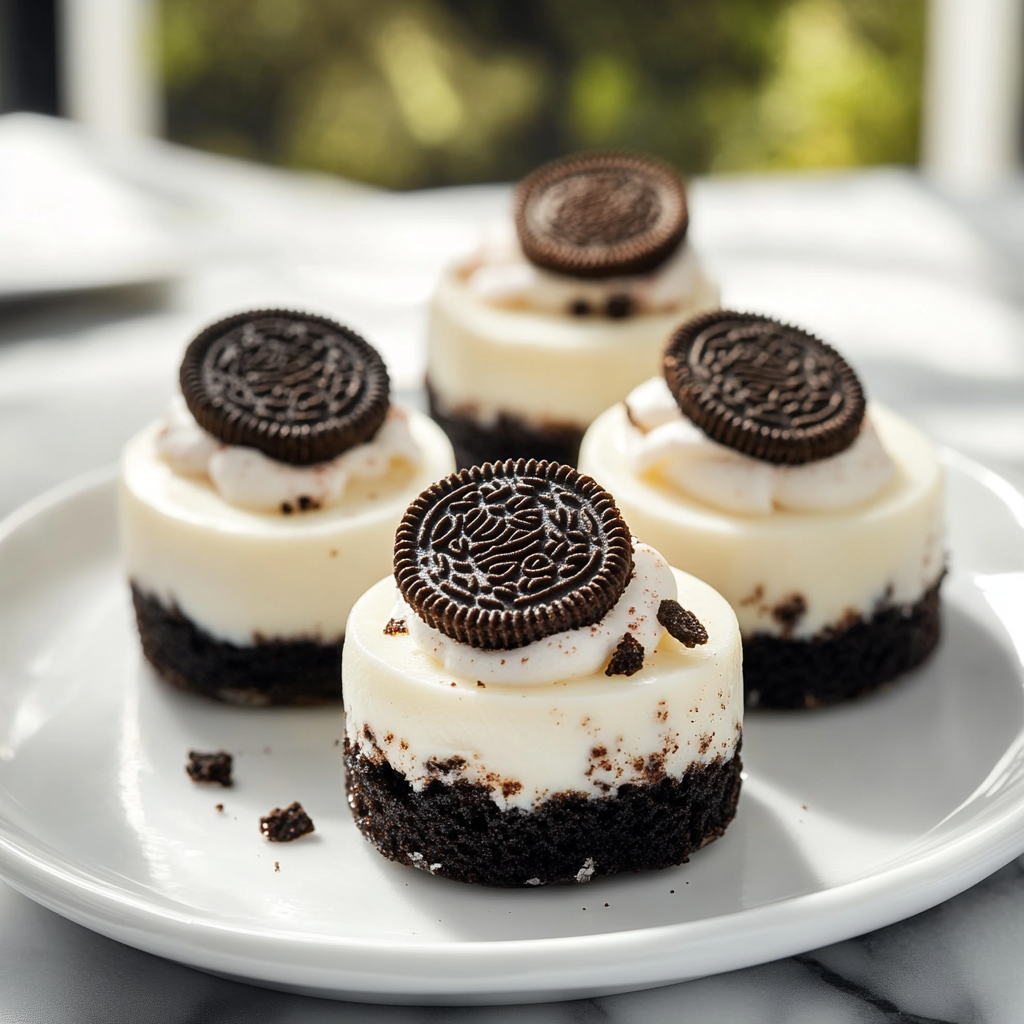
The holidays are right around the corner, and if you're looking for a dessert that perfectly blends festive flavors with indulgent sweetness, then Oreo Peppermint Mini Cheesecakes are the way to go. Imagine the creamy richness of a cheesecake paired with the iconic crunch of an Oreo cookie crust, all topped with the refreshing coolness of peppermint. These mini cheesecakes are the ultimate treat for holiday gatherings, family dinners, or any special occasion that calls for a little extra sweetness.

Not only are these cheesecakes visually stunning, but they’re also a breeze to make. The combination of Oreo crumbs, smooth cheesecake filling, and a hint of peppermint is sure to please any dessert lover. Plus, the individual mini size makes them perfect for portion control and serving at parties. Best of all, you can make them ahead of time, which means less stress when entertaining guests.
What You’ll Need for Oreo Peppermint Mini Cheesecakes
To create the best Oreo Peppermint Mini Cheesecakes, you’ll need a few simple ingredients that combine to form a decadent treat. Most of these ingredients are pantry staples, and the rest can be found at your local grocery store. Here’s the complete list of what you’ll need to make these delightful cheesecakes.
For the Oreo Crust:
- 20 Oreo cookies (regular or peppermint-flavored, depending on your preference)
- 2 tablespoons unsalted butter, melted
For the Cheesecake Filling:
- 16 ounces cream cheese (softened to room temperature)
- ½ cup granulated sugar
- 2 large eggs
- 1 teaspoon vanilla extract
- ½ teaspoon peppermint extract
- ¼ cup sour cream
- 2 tablespoons all-purpose flour
For the Topping:
- 1 cup whipped cream, for topping (you can use store-bought or homemade)
- Mini Oreo cookies (optional, for garnish)
- Crushed peppermint candies (for an extra holiday touch)
- A drizzle of melted chocolate (optional, for a more decadent topping)
Equipment:
- Mini cheesecake pan or muffin tin with cupcake liners
- Food processor (for crushing Oreos)
- Electric mixer or stand mixer (for the filling)
- Small saucepan (if you choose to drizzle chocolate)
How to Make for Oreo Peppermint Mini Cheesecakes
Making these Oreo Peppermint Mini Cheesecakes is a fun and straightforward process. With just a few simple steps, you'll have a batch of delicious mini desserts ready to wow your guests. Here’s how to make these creamy, minty treats from start to finish:
1. Prepare the Oreo Crust
- Crush the Oreos: Start by placing the 20 Oreo cookies in a food processor and pulse until the cookies are finely ground. If you don’t have a food processor, you can place the Oreos in a ziplock bag and crush them with a rolling pin until they resemble fine crumbs.
- Mix with Butter: In a small bowl, combine the crushed Oreos with 2 tablespoons of melted butter. Stir until the mixture resembles wet sand.
- Press into the Pan: Line your mini cheesecake pan with cupcake liners or grease each well if you're not using liners. Spoon about 1 tablespoon of the Oreo mixture into each cup and press it down firmly using the back of a spoon to form a compact crust. This step ensures that the crust is sturdy and holds up well once baked.
2. Prepare the Cheesecake Filling
- Beat the Cream Cheese: In a large mixing bowl, beat the softened cream cheese with an electric mixer on medium speed until smooth and creamy, about 2 minutes.
- Add Sugar and Eggs: Add the granulated sugar and mix until combined. Then, one at a time, add the eggs, mixing well after each addition. Be sure to scrape down the sides of the bowl to incorporate everything evenly.
- Add Flavorings: Mix in the vanilla extract and peppermint extract, ensuring the filling is perfectly flavored with that minty kick.
- Finish the Filling: Add the sour cream and all-purpose flour. Mix until smooth and fluffy. The flour will help the filling set properly and prevent any cracks while baking.
3. Assemble and Bake the Cheesecakes
- Fill the Cups: Spoon about 3 tablespoons of cheesecake filling over the prepared Oreo crust in each cupcake liner, filling them to the top.
- Bake: Preheat your oven to 325°F (163°C). Bake the mini cheesecakes for about 18-20 minutes, or until the centers are slightly jiggly but set. You can check the cheesecakes by gently tapping the pan—if they wiggle slightly in the center, they’re done.
- Cool and Chill: Once baked, remove the mini cheesecakes from the oven and let them cool in the pan for about 10 minutes. After that, transfer them to the fridge to cool completely for at least 3 hours or, ideally, overnight. Chilling helps the flavors set and the cheesecakes become firm enough to remove from the pan.
Serving and Storage Tips for Oreo Peppermint Mini Cheesecakes
These Oreo Peppermint Mini Cheesecakes are as easy to store as they are to make. Whether you're preparing them ahead of time for a party or saving leftovers for yourself, here are some helpful tips for serving and storing:

Serving Tips for Oreo Peppermint Mini Cheesecakes:
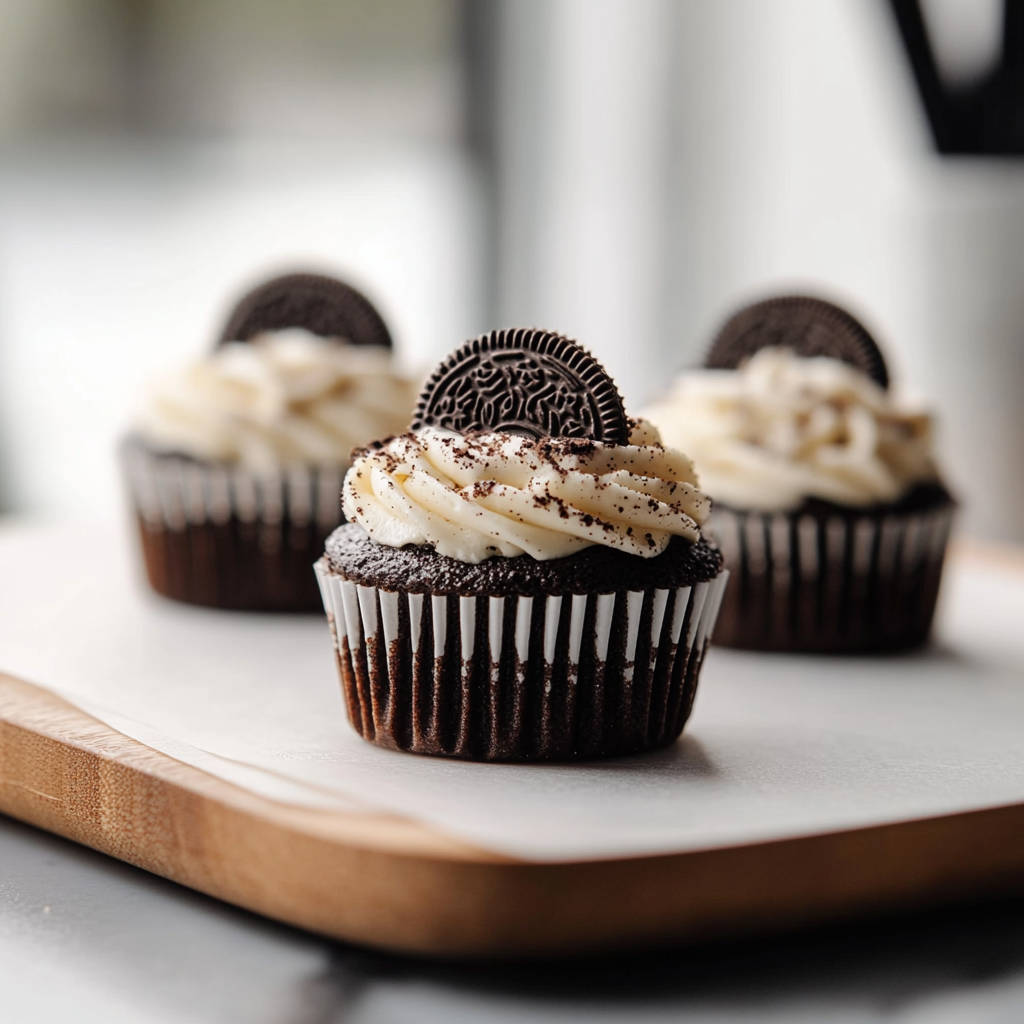
- Top with Whipped Cream: Just before serving, add a generous dollop of whipped cream on top of each cheesecake for a fluffy, creamy contrast. You can use homemade whipped cream or store-bought to save time.
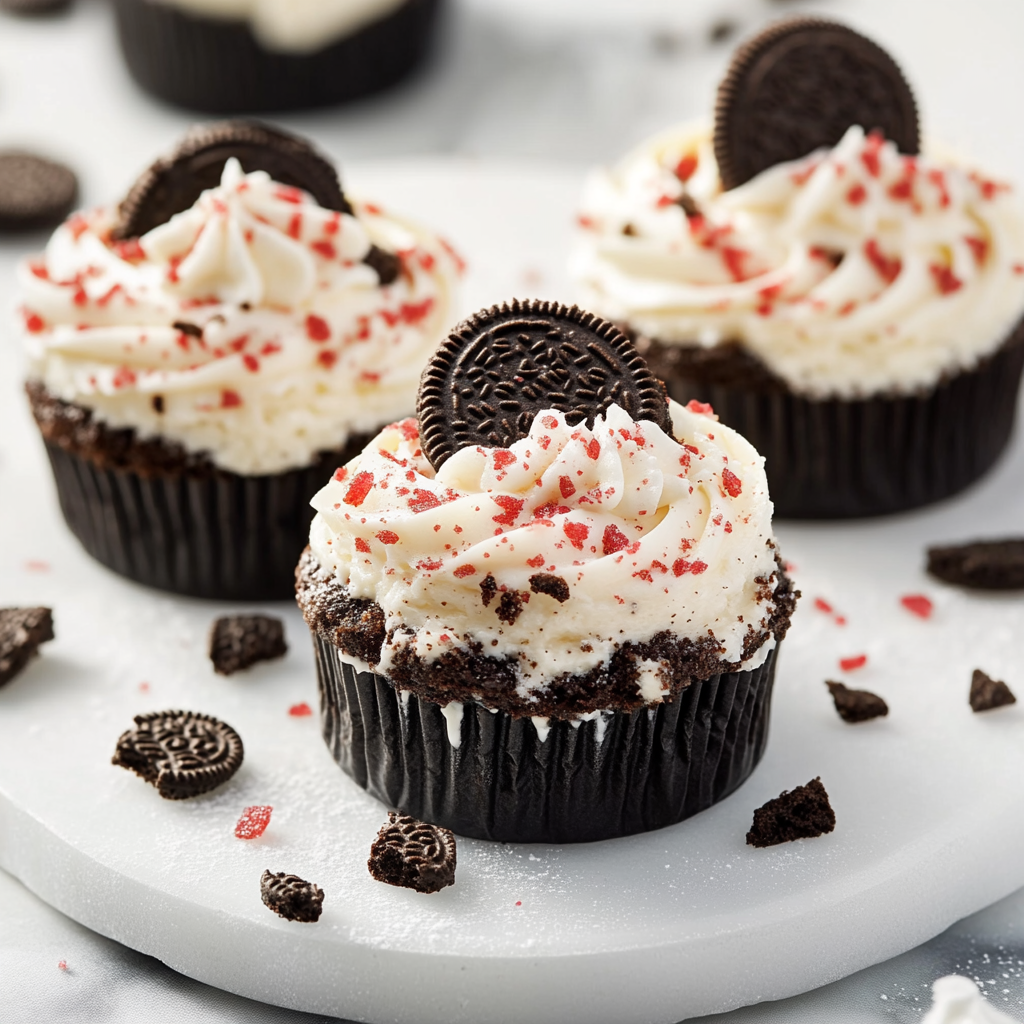
- Garnish with Mini Oreos: For an extra touch of Oreo goodness, garnish each cheesecake with a mini Oreo cookie on top.
- Add Crushed Peppermint: Sprinkle a small amount of crushed peppermint candies on top to bring in a little extra holiday cheer and a pop of color.
- Chocolate Drizzle: If you’re feeling extra indulgent, drizzle melted chocolate over the whipped cream or directly onto the cheesecake. It adds a rich flavor and a bit of elegance to the presentation.
Storage Tips for Oreo Peppermint Mini Cheesecakes:
- Refrigeration: Store the mini cheesecakes in an airtight container in the fridge for up to 5 days. The cool temperature will keep the cheesecakes fresh and the crust nice and crisp.
- Freezing: If you want to make these cheesecakes ahead of time or store extras, you can freeze them! Simply place the cheesecakes on a baking sheet and freeze until solid, about 2 hours. Then transfer them to a ziplock bag or airtight container and freeze for up to 3 months. To serve, let them thaw in the fridge for several hours before enjoying.
- Do Not Top Before Freezing: If freezing, it's best to wait until after thawing to add the whipped cream or garnish to keep everything fresh.
Mistakes to Avoid for Oreo Peppermint Mini Cheesecakes
Making these Oreo Peppermint Mini Cheesecakes is simple, but there are a few common pitfalls that can affect the final result. Avoiding these mistakes will help you achieve perfectly creamy, delicious cheesecakes every time. Here are the most common mistakes and how to steer clear of them:

1. Overmixing the Cheesecake Filling
When making the cheesecake filling, it’s tempting to mix everything at full speed to save time. However, overmixing can incorporate too much air into the batter, which may cause cracks to form during baking. Always mix the filling just until it’s smooth and well combined. This ensures a dense, creamy texture without air bubbles that could cause your cheesecakes to crack.
2. Skipping the Cooling and Chilling Steps
Patience is key when making cheesecakes! After baking, be sure to allow the mini cheesecakes to cool completely before transferring them to the fridge. If you skip this step and try to chill them while they’re still warm, the texture may be compromised. Chilling also helps the flavors meld together, so always let them sit for the full recommended time.
3. Not Using Room Temperature Cream Cheese
For a smooth, lump-free cheesecake batter, make sure your cream cheese is softened to room temperature before mixing. Cold cream cheese can create clumps that are difficult to break up, resulting in a bumpy filling. Take the cream cheese out of the fridge 30-60 minutes before you start.
4. Overfilling the Cups
It’s important not to overfill the cupcake liners. Filling each cup with too much cheesecake batter can cause them to overflow and make a mess. Stick to about 3 tablespoons of batter per cheesecake for a perfect amount.
5. Not Letting the Cheesecakes Cool Properly
After removing the cheesecakes from the oven, don’t skip the cooling step! Let them sit in the pan for at least 10 minutes before transferring them to the fridge. This helps them set properly and prevents them from collapsing when moved.
Tips and Tricks for Oreo Peppermint Mini Cheesecakes
To elevate your Oreo Peppermint Mini Cheesecakes even further, here are some pro tips and tricks that will ensure you get the best results every time:
1. Use Peppermint-Flavored Oreos for Oreo Peppermint Mini Cheesecakes
For an extra burst of minty flavor, swap out regular Oreos for peppermint-flavored Oreos. This will enhance the peppermint flavor in both the crust and the filling, making the cheesecakes even more festive.
2. Make the Cheesecakes in Advance for Oreo Peppermint Mini Cheesecakes
These mini cheesecakes are perfect for making ahead of time. You can prepare them up to 2 days in advance, which makes them an ideal option for busy holidays or parties. Just store them in the fridge and top with whipped cream and garnishes right before serving.
3. Customize with Your Favorite Toppings
Feel free to get creative with toppings. In addition to the mini Oreos and crushed peppermint, try adding chocolate shavings, holiday sprinkles, or a drizzle of caramel sauce. These add visual appeal and extra flavor to each cheesecake.
4. Test the Doneness with a Jiggle
Unlike cakes, cheesecakes don’t always form a "clean toothpick" test, so the best way to check for doneness is with a gentle jiggle. After the baking time is complete, tap the side of the pan gently. If the center jiggles slightly but the outer edge is firm, it’s done. Don’t overbake, as this can lead to a dry cheesecake.
5. Add a Touch of Espresso Powder
If you love the combination of coffee and chocolate, add a pinch of espresso powder to the crust for a subtle coffee flavor that complements the peppermint. This adds an unexpected twist to your cheesecake and enhances the overall flavor profile.
Suggestions for Oreo Peppermint Mini Cheesecakes
While Oreo Peppermint Mini Cheesecakes are already a delightful treat, there are several ways you can customize and serve them to match your preferences or your event. Here are some fun ideas and suggestions to take these mini cheesecakes to the next level:
1. Holiday-Themed Variations for Oreo Peppermint Mini Cheesecakes
If you're preparing these for the holiday season, consider adding red and green sprinkles or edible gold dust for a festive touch. You can also swap the peppermint extract for gingerbread or cinnamon for a warm, cozy twist that still feels very much like the holidays.
2. Dairy-Free Option
For those with dairy restrictions or allergies, you can make these mini cheesecakes dairy-free by swapping the cream cheese for a dairy-free alternative such as Tofutti or So Delicious cream cheese. Use a dairy-free whipped cream for topping as well, and check that the Oreos you use are dairy-free (many are).
3. Gluten-Free Option
If you have gluten sensitivities or are catering to guests with gluten-free needs, you can easily make a gluten-free version of these cheesecakes by choosing gluten-free Oreos for the crust. Just be sure to double-check the label, as not all Oreos are certified gluten-free. Additionally, replace the regular flour with gluten-free all-purpose flour in the filling, or leave it out entirely, as the cheesecake will still set properly without it.
4. Add a Layer of Chocolate Ganache
For a richer, more indulgent cheesecake experience, add a layer of chocolate ganache over the chilled mini cheesecakes before topping with whipped cream. To make the ganache, heat ½ cup of heavy cream until it's warm, then pour it over ½ cup of chopped chocolate. Stir until smooth, then let it cool slightly before pouring it over the cheesecakes.
5. Serve with Fresh Berries
Fresh fruit like strawberries, blueberries, or raspberries adds a pop of color and freshness that balances the richness of the cheesecake. For a berry compote, cook the berries with a bit of sugar and lemon juice, then spoon it on top just before serving.
FAQ for Oreo Peppermint Mini Cheesecakes
When making Oreo Peppermint Mini Cheesecakes, you might have some questions or run into a few issues. Here are the most frequently asked questions to help guide you along the way:

1. Can I use regular Oreos instead of peppermint Oreos?
Yes! While peppermint Oreos enhance the flavor, regular Oreos work perfectly as well. You can even use a combination of both for a balance of flavors.
2. Can I make these mini cheesecakes in a regular cheesecake pan instead of a mini pan?
Certainly! You can make this recipe in a regular springform cheesecake pan, but you will need to adjust the baking time. Bake the cheesecake at the same temperature, but check for doneness after about 30-40 minutes. Make sure the center is just slightly jiggly before removing from the oven.
3. How can I prevent cracks in my mini cheesecakes?
Cracks in cheesecakes can occur from overbaking or sudden temperature changes. To prevent cracking:
- Do not overmix the filling.
- Allow the cheesecakes to cool gradually in the oven with the door slightly ajar for 10 minutes before transferring to the fridge.
- Chill the cheesecakes properly for at least 3 hours to ensure they set firmly.
4. Can I freeze these mini cheesecakes?
Yes! Oreo Peppermint Mini Cheesecakes freeze beautifully. Just make sure to wrap each mini cheesecake tightly in plastic wrap or place them in an airtight container before freezing. They can be stored for up to 3 months. Thaw them in the fridge for several hours before serving.
5. How long can I store these mini cheesecakes in the fridge?
These cheesecakes can be stored in the fridge for up to 5 days. Make sure to cover them with plastic wrap or store them in an airtight container to keep them fresh.
Conclusion for Oreo Peppermint Mini Cheesecakes
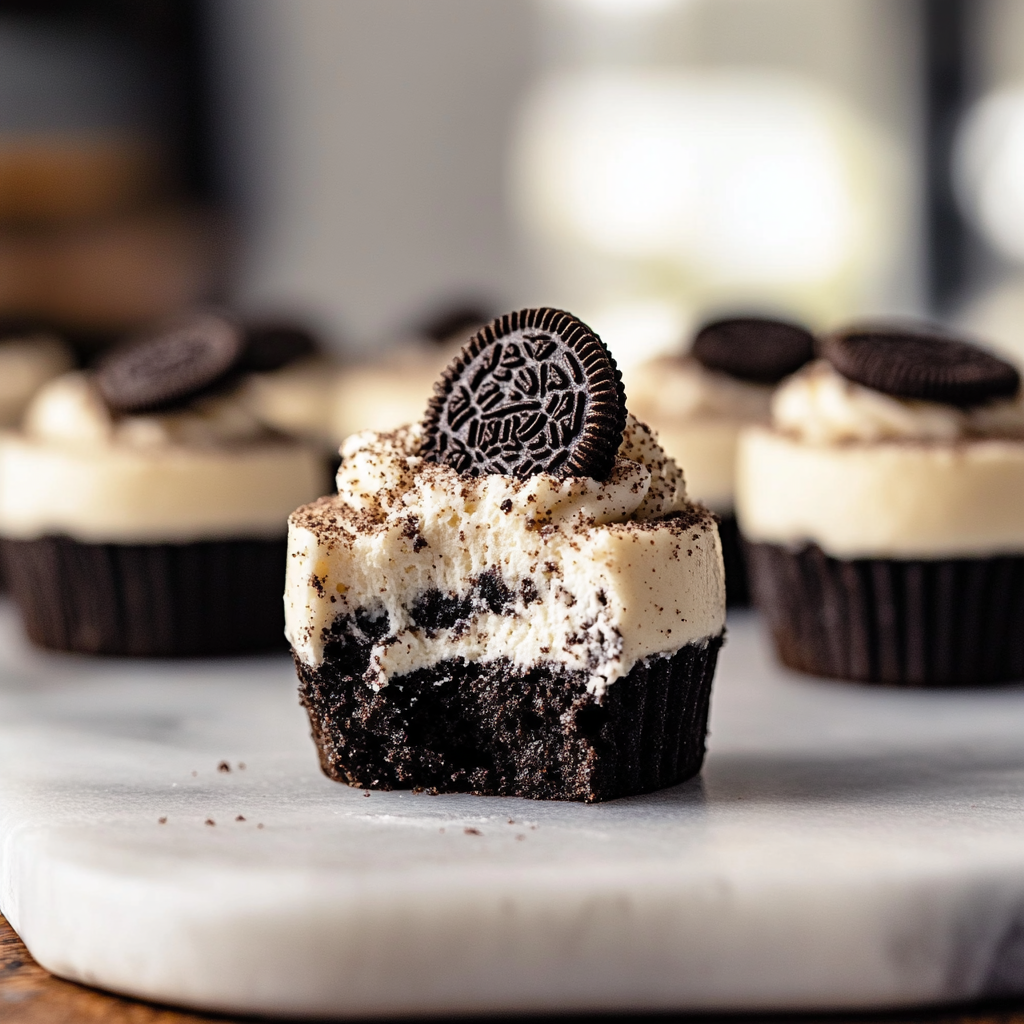
These Oreo Peppermint Mini Cheesecakes are the perfect blend of creamy, crunchy, and minty goodness, making them an irresistible treat for any occasion—whether you're celebrating the holidays, hosting a party, or simply indulging in something sweet. With their perfectly balanced flavor profile, these mini cheesecakes are sure to impress your guests and become a new favorite in your dessert rotation.
The recipe is easy to make, versatile, and adaptable to different dietary preferences, making it a go-to option for a wide range of events. With a crunchy Oreo crust, a creamy cheesecake filling, and a refreshing peppermint twist, these cheesecakes are a holiday dessert must-have.
Print
Peppermint Oreo Mini Cheesecakes
- Total Time: 27 minute
Description
These Oreo Peppermint Mini Cheesecakes are a festive and delightful treat, combining the perfect balance of creamy cheesecake filling, crunchy Oreo crust, and a refreshing peppermint twist. Easy to make and even easier to eat, these mini cheesecakes are perfect for holiday gatherings, special occasions, or whenever you're in the mood for a delicious, indulgent dessert.
Ingredients
For the Crust:
- 12 Oreo cookies, crushed
- 3 tbsp unsalted butter, melted
For the Filling:
- 8 oz cream cheese, softened
- ¼ cup granulated sugar
- 1 tsp peppermint extract
- ½ cup sour cream
- ½ cup whipped cream
- ½ cup powdered sugar
- 12 mini Oreo cookies, for garnish
Instructions
Prepare the Crust:
- Preheat the oven to 325°F (160°C).
- Place the crushed Oreos and melted butter in a mixing bowl. Stir until the mixture is well combined and resembles wet sand.
- Line a muffin tin with 12 paper liners. Divide the Oreo mixture evenly between the liners, pressing it down firmly to form the crust.
- Bake the crust for 5-7 minutes until set. Remove from the oven and let cool.
2. Make the Filling:
- In a large mixing bowl, beat the cream cheese with an electric mixer until smooth and creamy.
- Add the granulated sugar and peppermint extract, and mix until combined.
- Add the sour cream and whipped cream, then beat again until smooth.
- Gradually add the powdered sugar, mixing until fully incorporated. The filling should be thick and creamy.
3. Assemble the Cheesecakes:
- Spoon the cheesecake filling evenly over the cooled Oreo crusts in each muffin liner.
- Smooth the tops with a spatula to ensure an even layer.
- Refrigerate the mini cheesecakes for at least 4 hours or until they are fully set.
4. Serve and Garnish:
- Just before serving, top each mini cheesecake with a mini Oreo cookie for decoration. You can also add extra crushed peppermint or chocolate shavings for added flair.
Notes
- Make-Ahead: These mini cheesecakes can be made up to 2 days in advance, stored in the fridge, and topped just before serving.
- Dairy-Free Option: Swap the cream cheese and whipped cream with dairy-free alternatives, and use a dairy-free cookie for the crust to make this recipe suitable for those with dairy sensitivities.
- Storage: Store leftover mini cheesecakes in an airtight container in the fridge for up to 5 days.
- Prep Time: 15 minutes
- Cook Time: 5-7 minutes
Nutrition
- Calories: 250
- Sugar: 18g
- Sodium: 120mg
- Fat: 15g
- Saturated Fat: 8g
- Carbohydrates: 28g
- Fiber: 1g
- Protein: 3g
- Cholesterol: 40mg