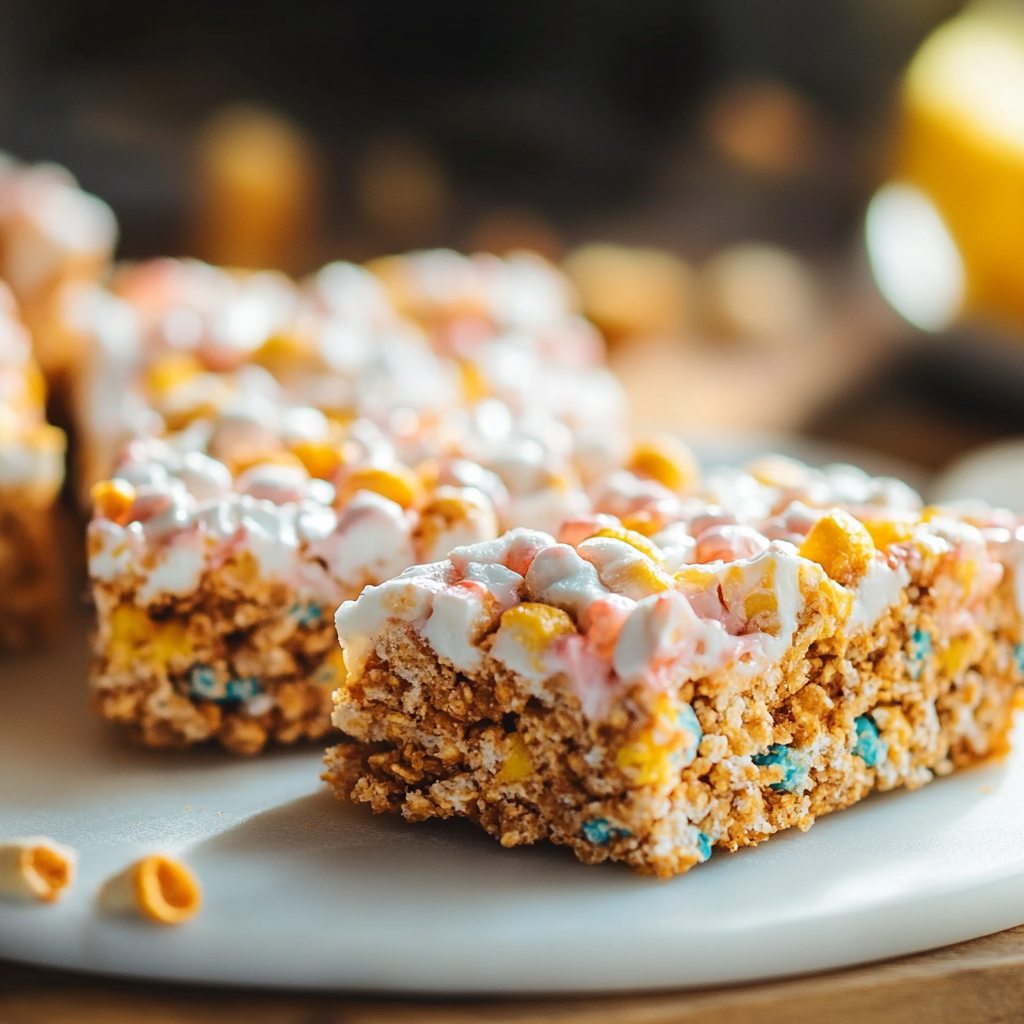
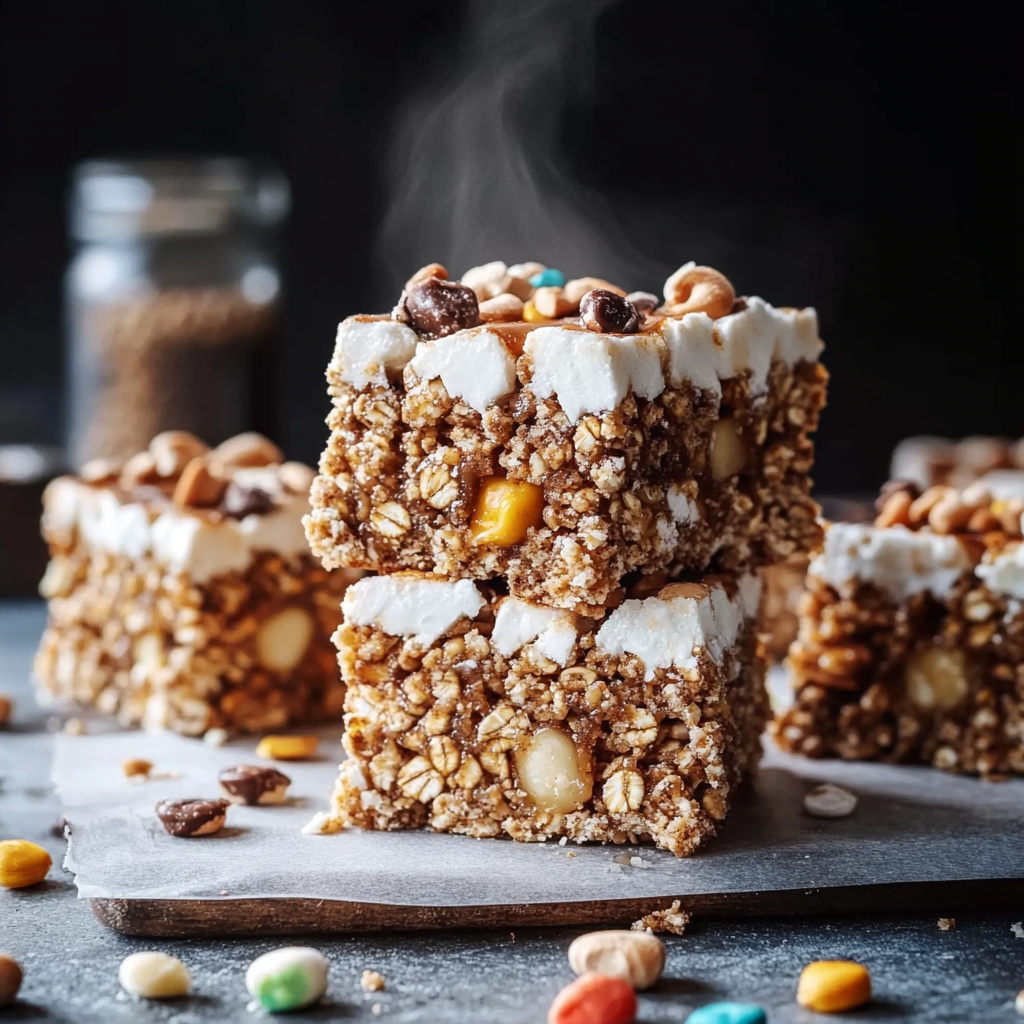
There’s something undeniably nostalgic about marshmallow cereal bars. These delightful treats are not only a favorite among children but also evoke fond memories for adults. Whether you remember snacking on them during school lunches or whipping up a batch for a cozy family movie night, these bars have a way of bringing everyone together. Made with simple ingredients and easy-to-follow steps, marshmallow cereal bars are the perfect solution for busy parents, last-minute dessert needs, or a sweet afternoon snack.
The beauty of marshmallow cereal bars lies in their versatility. You can customize them according to your family’s preferences or dietary restrictions. Want to make them gluten-free? Swap out the cereal for a gluten-free option. Looking for a vegan version? Replace the butter with coconut oil and choose dairy-free marshmallows. The possibilities are endless! Plus, these bars require no baking, making them an ideal choice for those hot summer days when you want something sweet without heating up the kitchen.
In this article, we’ll take a deep dive into everything you need to know about making the perfect marshmallow cereal bars. From the ingredients and method to serving suggestions and common mistakes to avoid, you’ll be well-equipped to create a treat that will impress friends and family alike.
What You’ll Need for Marshmallow Cereal Bars
Before you embark on your marshmallow cereal bar-making journey, it’s essential to gather all your ingredients and tools. Here’s a comprehensive list of what you’ll need:
Ingredients for Marshmallow Cereal Bars:
- Cereal: 6 cups of your favorite cereal. Options include rice cereal, cornflakes, or even a mix of different cereals for added texture.
- Marshmallows: 4 cups of mini marshmallows. You can also use large marshmallows, but they will need to be cut into smaller pieces for easier melting and mixing.
- Butter: ¼ cup (half a stick). Unsalted butter is recommended, but salted butter can also be used for a different flavor profile.
- Vanilla Extract: 1 teaspoon. This adds a wonderful depth of flavor to your bars.
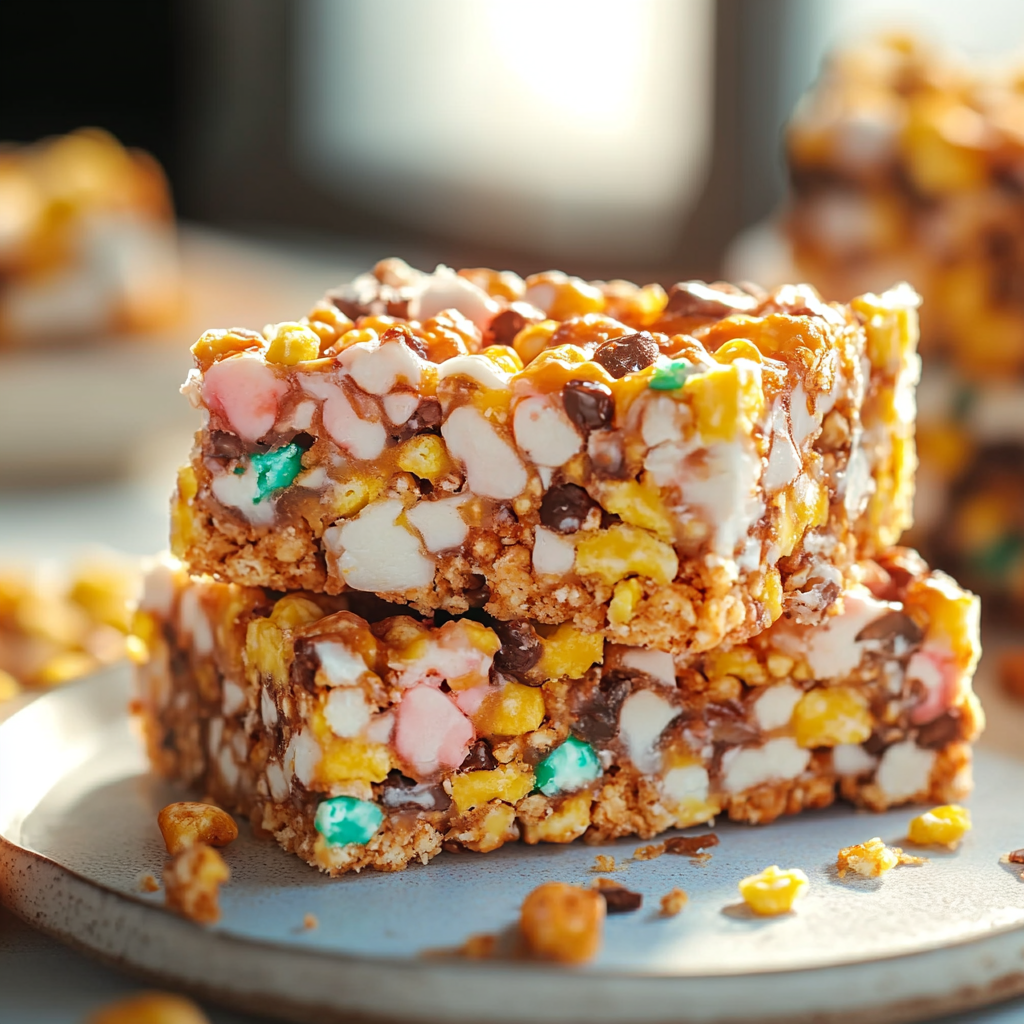
- Optional Mix-ins: Feel free to get creative! Add ½ cup of chocolate chips, nuts, or dried fruits to enhance the flavor and texture of your bars.
Tools:
- Large Pot: To melt the marshmallows and butter together.
- Wooden Spoon or Spatula: For stirring the mixture.
- 9x13-inch Baking Dish: To shape and set your bars. Grease it lightly or line it with parchment paper for easy removal.
- Measuring Cups and Spoons: To ensure accurate measurements of your ingredients.
- Cutting Board and Knife: For cutting your bars once they are set.
How to Make for Marshmallow Cereal Bars
Making marshmallow cereal bars is a straightforward and enjoyable process that requires minimal time and effort. Follow these detailed steps to ensure your bars turn out delicious and perfectly chewy:

Ingredients Measurement:
- Cereal: 6 cups (any variety you prefer)
- Mini Marshmallows: 4 cups (or 10 oz of large marshmallows cut into pieces)
- Unsalted Butter: ¼ cup (½ stick)
- Vanilla Extract: 1 teaspoon
- Optional Mix-ins: ½ cup (chocolate chips, nuts, dried fruit, etc.)
Instructions:
- Prepare Your Dish: Start by greasing a 9x13-inch baking dish with a little butter or lining it with parchment paper. This will help prevent the bars from sticking and make removal easier later on.
- Melt the Butter and Marshmallows: In a large pot over medium heat, combine the butter and mini marshmallows. Stir continuously as the mixture begins to melt. You want to be careful not to let it burn, so keep the heat at medium and keep stirring. Once the marshmallows are fully melted and combined with the butter, remove the pot from the heat.
- Add Vanilla: Stir in the vanilla extract into the melted marshmallow mixture. This will enhance the flavor of your bars and give them a delightful aroma.
- Incorporate the Cereal: Gradually add the cereal to the melted mixture, stirring gently to coat each piece evenly. If you're using any optional mix-ins like chocolate chips or nuts, fold them in at this stage. Make sure the cereal is thoroughly mixed, ensuring every piece is coated with the sticky marshmallow mixture.
- Transfer to Baking Dish: Pour the cereal mixture into the prepared baking dish. Use a spatula or your hands (lightly greased to prevent sticking) to press the mixture down firmly and evenly. This step is crucial for achieving well-formed bars, so make sure it’s compact.
- Cool and Set: Allow the mixture to cool at room temperature for about 30 minutes. If you’re in a hurry, you can place the dish in the refrigerator to speed up the process.
- Cut into Bars: Once the mixture is set, remove it from the dish using the edges of the parchment paper (if used). Place it on a cutting board and cut it into squares or rectangles of your desired size.
Enjoy!
These bars can be served immediately or stored for later. In the next section, we'll cover serving and storage tips to keep your marshmallow cereal bars fresh and delicious.
Serving and Storage Tips for Marshmallow Cereal Bars
Now that you have your marshmallow cereal bars cut and ready to go, it’s time to think about how to serve them and keep them fresh. Here are some helpful tips:
Serving Suggestions for Marshmallow Cereal Bars:
- Presentation: Arrange the bars on a colorful platter or a decorative cake stand to make them visually appealing for parties or gatherings. You can dust them with a little powdered sugar for an elegant touch.
- Pair with Beverages: Marshmallow cereal bars are delightful when paired with milk, hot chocolate, or even coffee. They make a great addition to a breakfast table or a cozy afternoon snack.
- Portion Control: Consider cutting the bars into smaller pieces for easier snacking, especially for kids. This also makes them perfect for lunchboxes or parties.
Storage Tips for Marshmallow Cereal Bars:
- Airtight Container: To keep your marshmallow cereal bars fresh, store them in an airtight container at room temperature. They can last up to one week, but they are often devoured much quicker!
- Refrigeration: If you live in a particularly humid environment, consider storing the bars in the refrigerator to maintain their texture. Just be sure to let them come to room temperature before serving for the best flavor and chewiness.
- Freezing: For longer storage, you can freeze the bars. Wrap them individually in plastic wrap and place them in a freezer-safe bag. When you’re ready to enjoy them, simply thaw them at room temperature.
Mistakes to Avoid for Marshmallow Cereal Bars
When making marshmallow cereal bars, it’s easy to assume that the process is foolproof. However, a few common pitfalls can lead to less-than-perfect results. Here’s a list of mistakes to watch out for, along with tips to ensure your bars turn out just right.

1. Not Measuring Ingredients Accurately
One of the most critical steps in baking (or no-bake recipes) is measuring ingredients accurately. Using too much cereal or not enough marshmallows can affect the texture and stickiness of your bars. Always use measuring cups and spoons to ensure consistency.
2. Overheating the Marshmallows
It’s tempting to crank up the heat to melt marshmallows faster, but this can lead to burnt marshmallows and a grainy texture. Always melt the mixture over medium heat and stir continuously. If your marshmallows start to brown, it’s time to remove them from the heat.
3. Skipping the Greasing Step
Whether you’re using butter or parchment paper, greasing your baking dish is crucial. Skipping this step can lead to the bars sticking, making it challenging to remove them intact. If using parchment paper, make sure to leave some overhang to help lift the bars out.
4. Not Pressing Firmly Enough
When transferring the mixture into the baking dish, many people tend to be gentle with the pressing. However, if you don’t pack the mixture tightly, the bars may crumble apart when cut. Use your hands or a spatula to press firmly and evenly.
5. Cutting Too Soon
Patience is key when it comes to cooling. If you cut the bars before they have completely set, they may fall apart. Allow them to cool for at least 30 minutes at room temperature, or longer if necessary, before cutting into them.
6. Ignoring Customization
While the classic marshmallow cereal bar is delicious on its own, ignoring the opportunity to customize can be a missed chance for creativity. Don’t hesitate to experiment with different cereals, add-ins, and flavors to make the bars uniquely yours.
Tips and Tricks for Marshmallow Cereal Bars
To elevate your marshmallow cereal bars beyond the traditional recipe, consider these handy tips and tricks. They can help you achieve a more enjoyable and personalized treat that stands out.
1. Experiment with Cereals for Marshmallow Cereal Bars
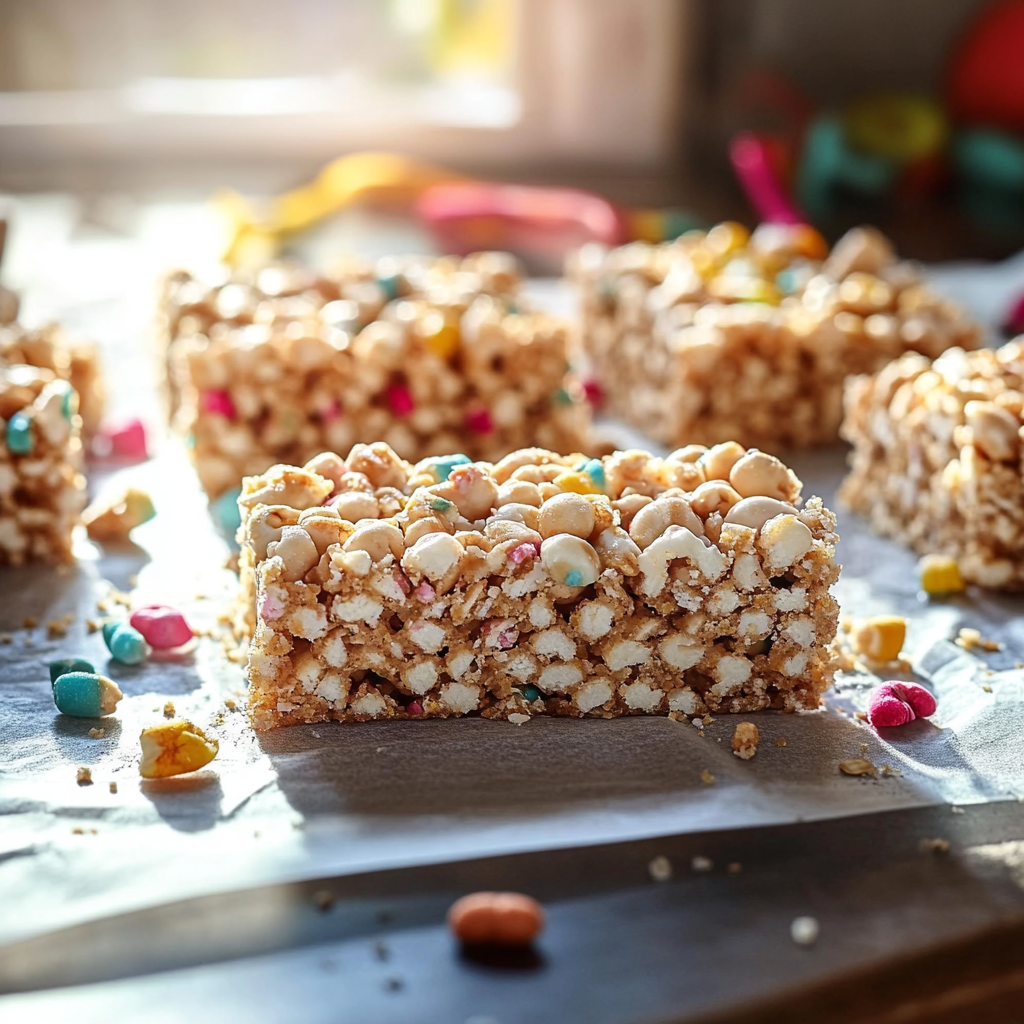
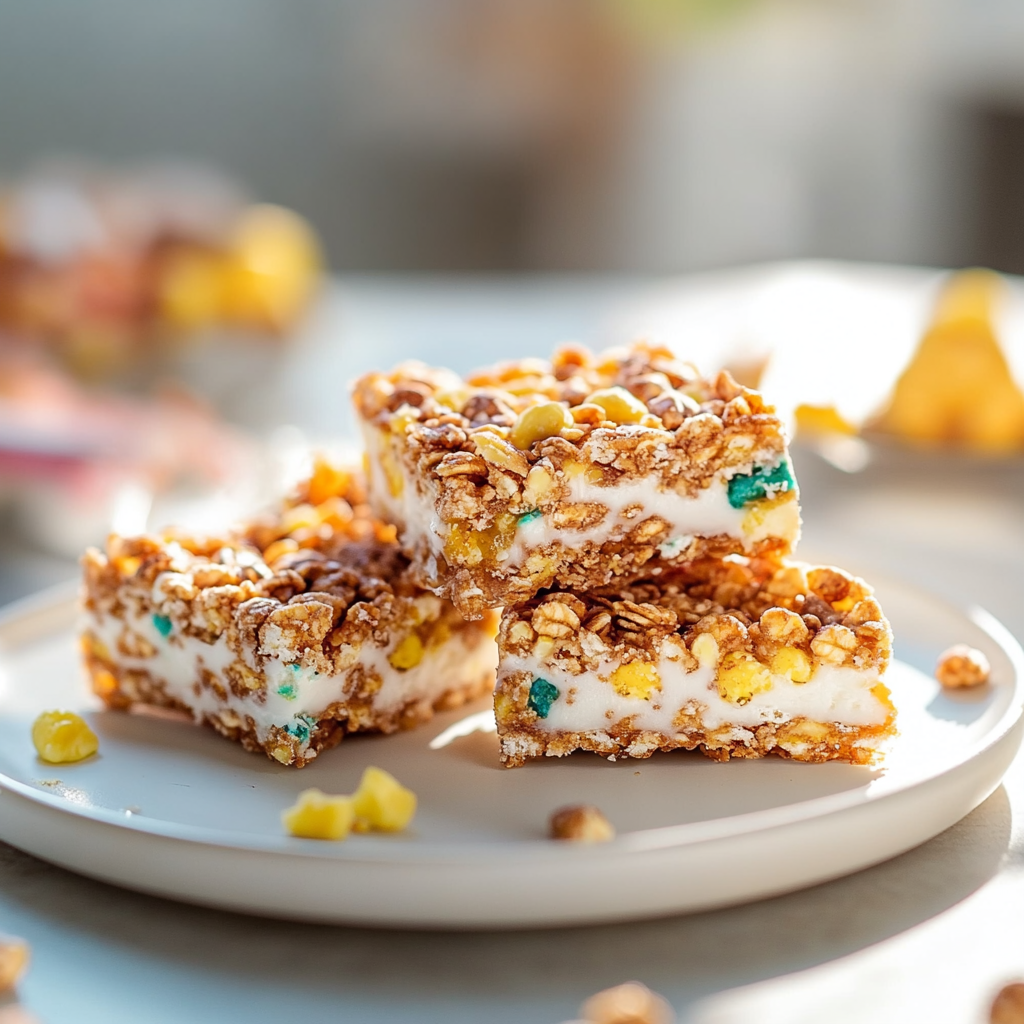
While classic rice cereal is a popular choice, there are so many cereal varieties available. Consider using fruity cereals for a colorful twist or granola for added crunch and flavor. Mixing different types can add texture and visual appeal.
2. Add Flavorings
In addition to vanilla extract, try adding other flavorings to the marshmallow mixture. Almond extract, peanut butter, or even a sprinkle of cinnamon can add depth to your bars. Just be careful not to overpower the sweet marshmallow flavor.
3. Use Different Types of Marshmallows
Not all marshmallows are created equal. You can find flavored marshmallows, such as strawberry or mint, which can add a fun twist to your bars. Mini marshmallows work best for even melting, but if you want a chunkier texture, opt for the larger ones.
4. Consider Dietary Needs
If you’re catering to dietary restrictions, there are numerous options available. Use gluten-free cereal, vegan marshmallows, or alternative sweeteners to create a version that everyone can enjoy. Always check ingredient labels to ensure they meet dietary requirements.
5. Layering and Topping for Marshmallow Cereal Bars
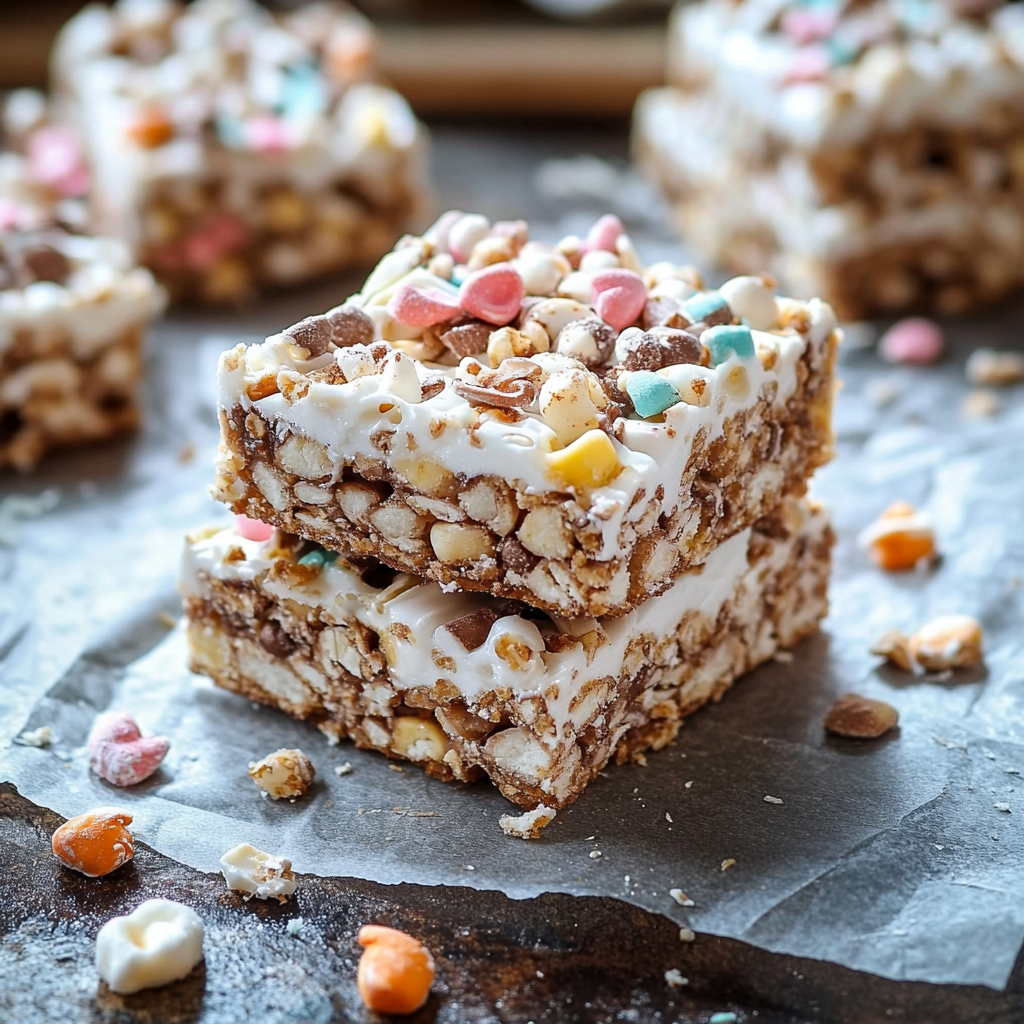
For a gourmet touch, consider layering your bars. Pour half of the cereal mixture into the dish, add a layer of chocolate or caramel sauce, and then top with the remaining mixture. You can also drizzle melted chocolate on top for a decorative finish.
6. Get Creative with Add-ins
Don’t hesitate to include mix-ins beyond chocolate chips or nuts. Dried fruit, coconut flakes, or even crushed candies can add unique flavors and textures to your bars. Just remember to adjust the quantities so the bars remain cohesive.
Suggestions
To elevate your marshmallow cereal bars experience, consider trying out these creative variations and pairing ideas. Each suggestion adds a unique twist, allowing you to customize your bars to fit any occasion or personal preference.
Flavor Variations
- Chocolate Peanut Butter: For a rich and nutty flavor, mix in ½ cup of creamy peanut butter along with the butter and marshmallows. This will create a delightful chocolate-peanut butter combination if you also add chocolate chips or chunks.
- Coconut Delight: Add ½ cup of shredded coconut to the cereal mixture for a tropical twist. For an extra indulgence, drizzle melted chocolate over the top before serving.
Textural Add-ins for Marshmallow Cereal Bars
- Nuts: Incorporating chopped nuts like almonds, walnuts, or pecans can add a satisfying crunch and healthy fats. Aim for about ½ cup to balance the sweetness of the marshmallows.
- Dried Fruit: Enhance the flavor profile with dried cranberries, raisins, or chopped apricots. About ½ cup of dried fruit can bring a fruity contrast that pairs well with the gooey bars.
Themed Bars
- Holiday-Inspired: Customize your bars for special occasions by using festive cereals or adding food coloring to match holiday themes—think red and green for Christmas or pastel colors for Easter.
- Birthday Treats: Mix in colorful sprinkles for a celebratory touch, making these bars perfect for birthday parties or festive gatherings.
Pairing Ideas
- Ice Cream Sundae: Serve your bars alongside a scoop of ice cream, drizzled with chocolate or caramel sauce for an indulgent dessert experience.
- Trail Mix Snack: Crumble the bars and mix them with other snacks like popcorn, pretzels, and nuts for a fun and portable trail mix option.
Fun Presentation
- Individual Wrapping: Wrap each bar in colorful wax paper or cellophane to make them portable and visually appealing—perfect for lunchboxes or party favors.
- Layered Dessert: Create a layered dessert by alternating layers of crushed bars and whipped cream or yogurt in clear cups, making a delightful and attractive treat.
FAQ for Marshmallow Cereal Bars
Creating marshmallow cereal bars is a fun and straightforward process, but it’s natural to have questions, especially if you’re new to making them. Here are some frequently asked questions to help clarify any uncertainties and ensure your bars turn out perfectly every time.
1. Can I use any type of cereal for these bars?
Absolutely! While the classic recipe calls for rice cereal, you can use any cereal you enjoy. Options include cornflakes, fruity cereals, granola, or even oatmeal. Just keep in mind that different cereals can yield different textures and flavors.
2. What if I don’t have mini marshmallows?
If mini marshmallows aren’t available, you can use large marshmallows instead. Simply cut them into smaller pieces to ensure they melt evenly. You can also substitute with marshmallow fluff if you prefer, though this might alter the texture slightly.
3. Can I make these bars vegan?
Yes, you can easily make marshmallow cereal bars vegan by using dairy-free butter and vegan marshmallows. There are several brands of vegan marshmallows available in stores or online, so check the ingredient list to ensure they meet your dietary needs.
4. How long do marshmallow cereal bars last?
When stored in an airtight container at room temperature, marshmallow cereal bars can last up to a week. If you want them to last longer, consider refrigerating or freezing them. Just remember to let them come back to room temperature before serving for the best texture.
5. How do I prevent the bars from becoming too hard or stale?
To keep your bars soft and chewy, ensure they are stored in an airtight container. If they start to harden, you can try placing a slice of bread in the container with them; the moisture from the bread will help keep the bars soft.
6. Can I add food coloring?
Certainly! If you want to make your marshmallow cereal bars festive or visually appealing, adding a few drops of food coloring to the melted marshmallow mixture can create vibrant colors. Just mix it in before adding the cereal for an even distribution.
7. How do I cut the bars neatly?
To achieve clean cuts, consider using a sharp knife that has been lightly greased with cooking spray or butter. This helps prevent sticking and tearing of the bars. You can also warm the knife slightly in hot water, then dry it off before cutting.
8. Can I make these bars in advance?
Yes! Marshmallow cereal bars are great for making in advance. You can prepare them a few days ahead of time and store them in an airtight container. They make an excellent treat for parties, school lunches, or just as a convenient snack.
Conclusion for Marshmallow Cereal Bars
Marshmallow cereal bars are a timeless treat that blends nostalgia with versatility, making them perfect for any occasion. With their simple ingredients and easy preparation, these bars offer a fun way to involve kids in the kitchen or to whip up a quick snack for yourself. The opportunity for customization allows you to tailor each batch to your taste or dietary needs, ensuring that everyone can enjoy them.

From the classic version to more adventurous twists, the process is straightforward, and the result is always rewarding. Remember to measure your ingredients carefully, melt your marshmallows gently, and pack the mixture tightly for the best texture. Don’t hesitate to get creative with cereals, add-ins, and flavors—each batch can be a new experience!
As you enjoy your homemade marshmallow cereal bars, take a moment to appreciate the memories they evoke and the joy they bring to your table. Share them with family and friends, or keep them as a personal treat; either way, you can’t go wrong with this delightful snack.
So, gather your ingredients, follow the steps, and get ready to indulge in a delicious homemade treat. Happy cooking!
Print
Delicious Marshmallow Cereal Bars Recipe
- Total Time: 20 minutes
Description
These Marshmallow Cereal Bars are a quick and delicious treat, perfect for snacks or lunchboxes. With a delightful combination of chewy marshmallows and crispy cereal, they’re customizable and fun to make!
Ingredients
- 6 cups cereal (rice cereal or your favorite variety)
- 4 cups mini marshmallows
- ¼ cup unsalted butter
- 1 teaspoon vanilla extract
- Optional mix-ins: chocolate chips, nuts, or dried fruit
Instructions
- Prepare the Dish: Grease a 9x13-inch baking dish or line it with parchment paper.
- Melt Ingredients: In a large pot over medium heat, melt the butter and marshmallows, stirring until smooth. Remove from heat and add vanilla.
- Combine: Stir in the cereal and any optional mix-ins until evenly coated.
- Press and Set: Transfer the mixture to the prepared dish, pressing it down firmly. Allow to cool for at least 30 minutes before cutting into bars.
Notes
- For a fun twist, try different cereals or add colorful sprinkles for special occasions.
- Store leftovers in an airtight container for up to a week, or refrigerate for longer freshness.
- Prep Time: 15 minutes
- Cook Time: 5 minutes
Nutrition
- Calories: 150
- Sugar: 10g
- Fat: 5g
- Carbohydrates: 24g
- Protein: 1g